Config Amazon CloudFront
Use the AWS management console to create a CloudFront distribution and configure this service to serve the S3 Bucket we created earlier.
Open the Amazon CloudFront console at here.
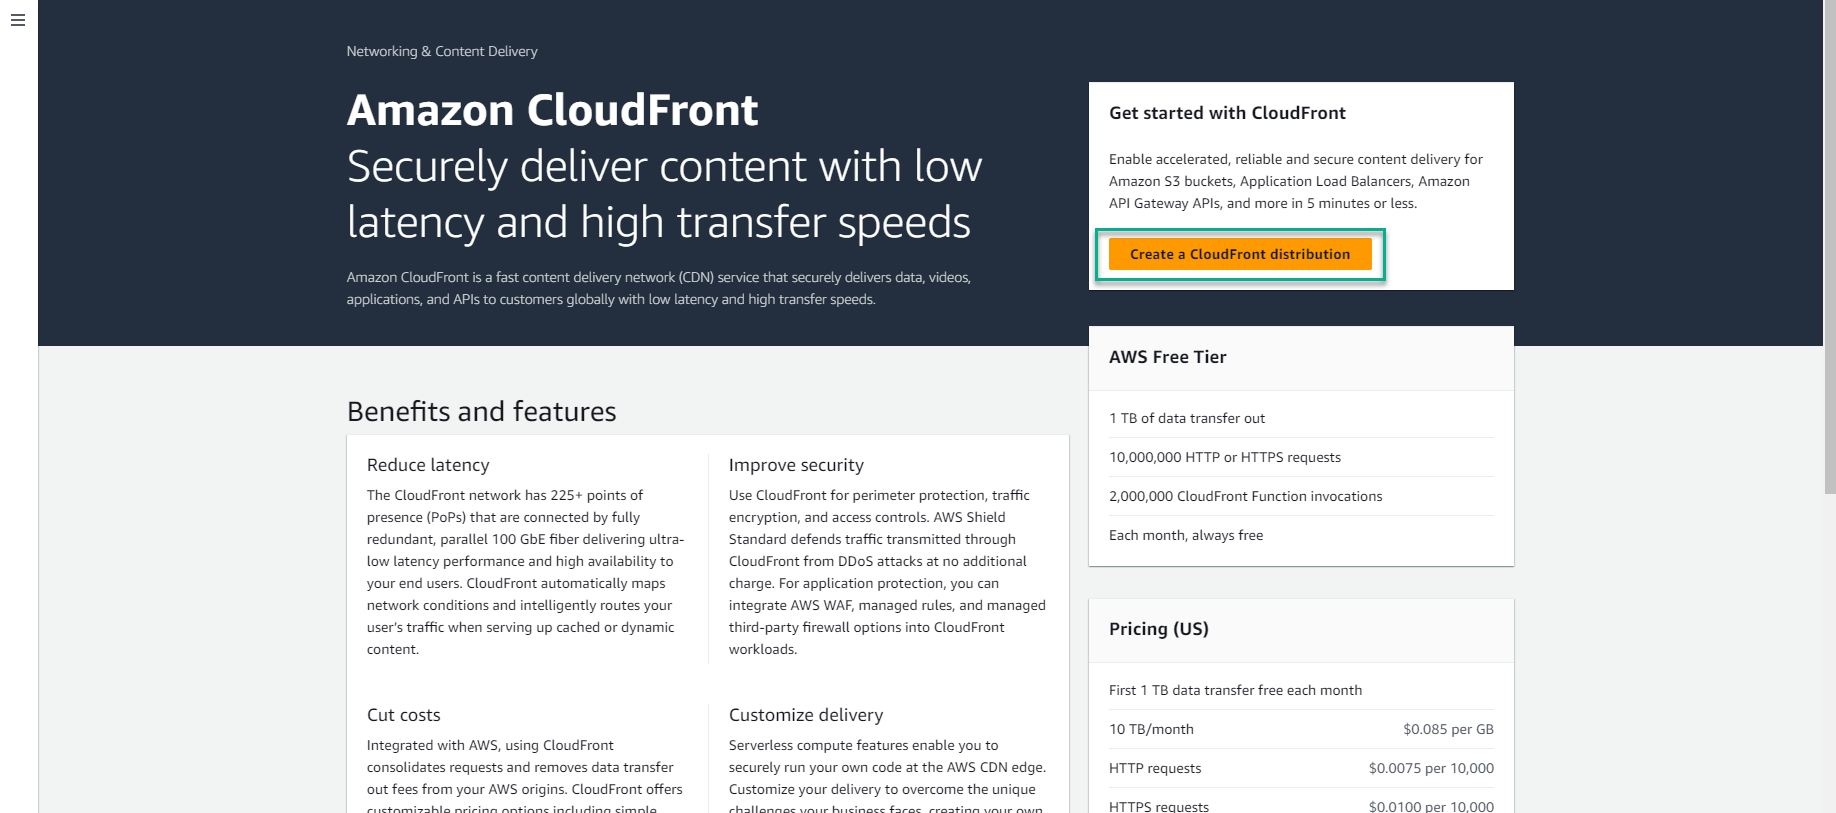
From the dashboard, click Create distribution.
Choose the plan. Since we want to save costs for learning, choose the free plan (sufficient for learning).
- Scroll down and click Next to continue.
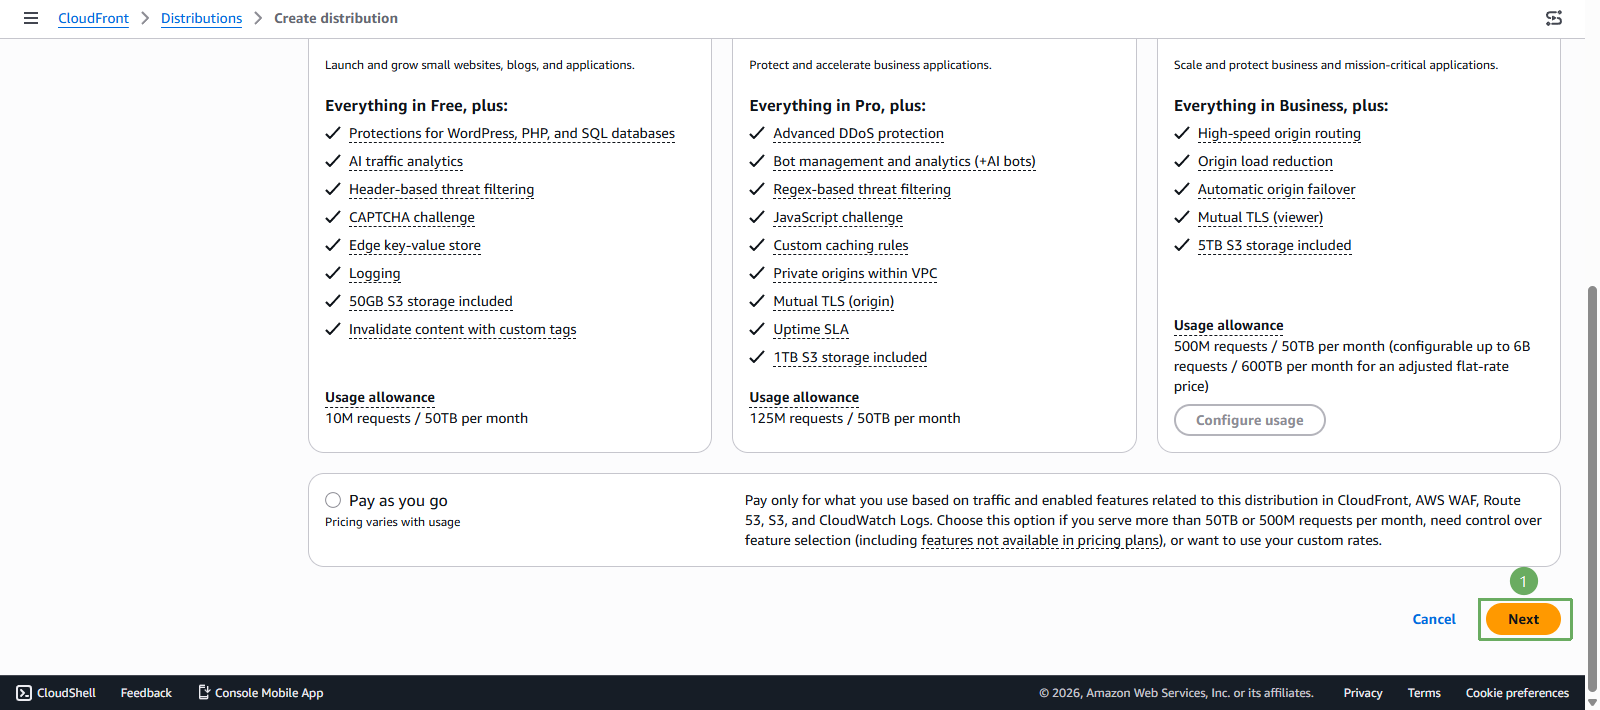
- Scroll down and click Next to continue.
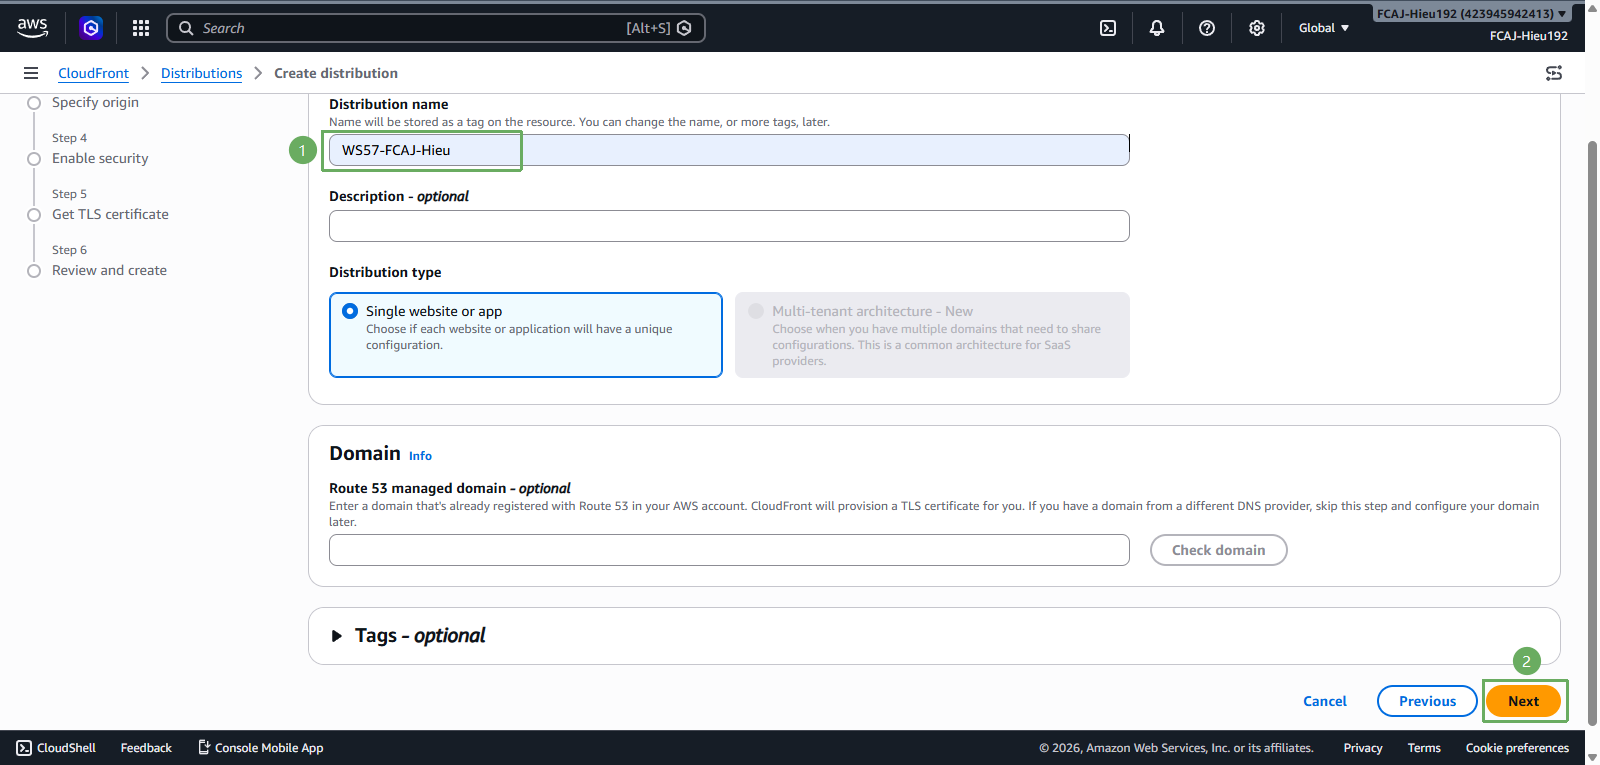
Specify the following settings for the distribution:
In the Distribution name field, enter any name.
Click Next to continue.
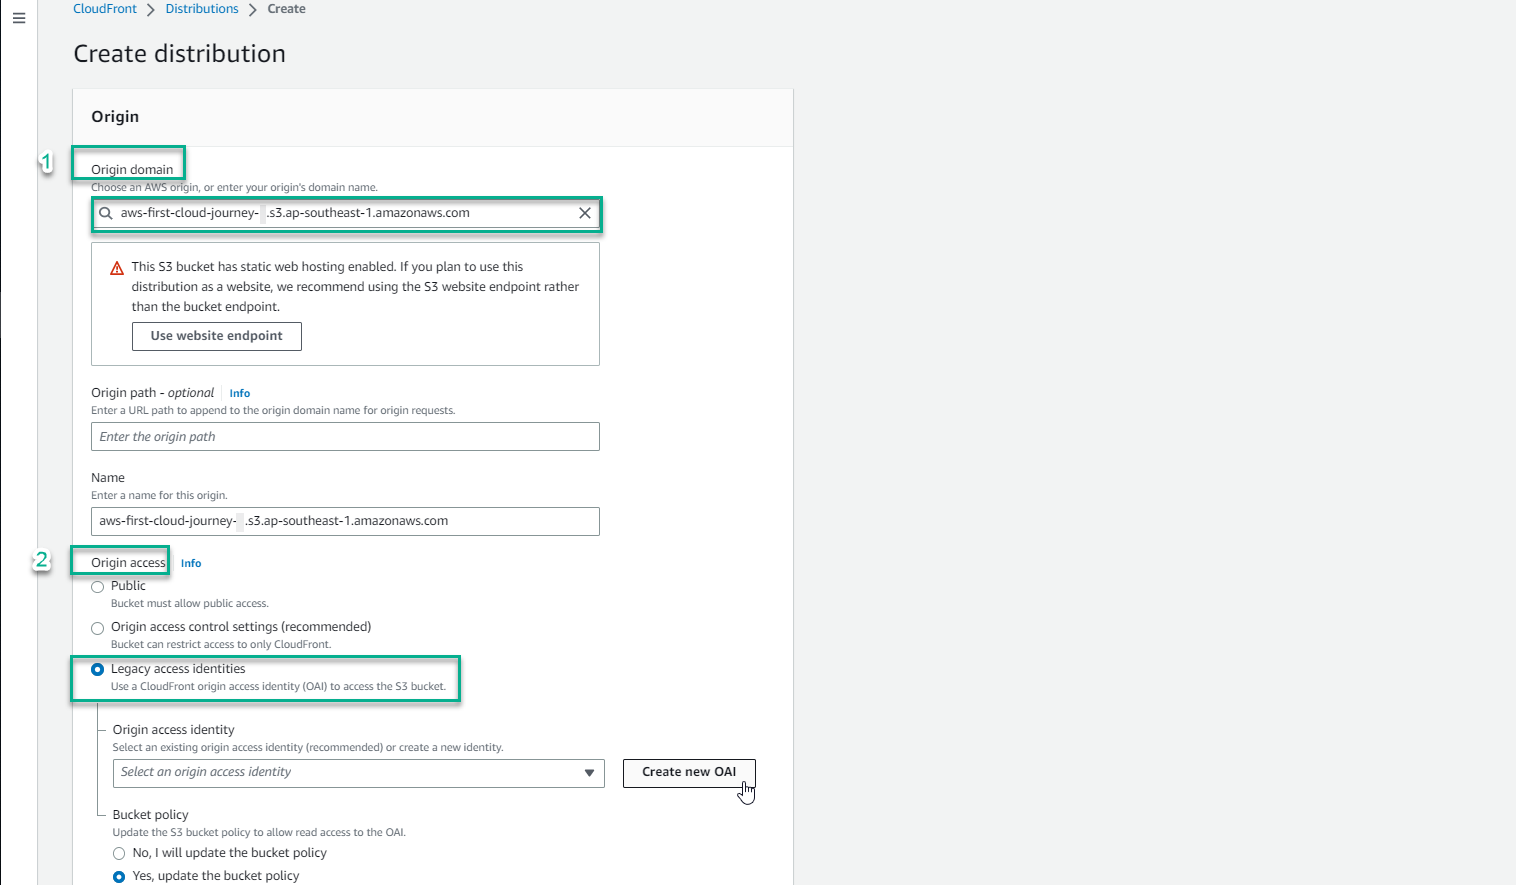
Specify the following settings for the origin:
In the Origin type field, select Amazon S3.
Select the S3 bucket in the S3 Origin field by clicking Browse S3.
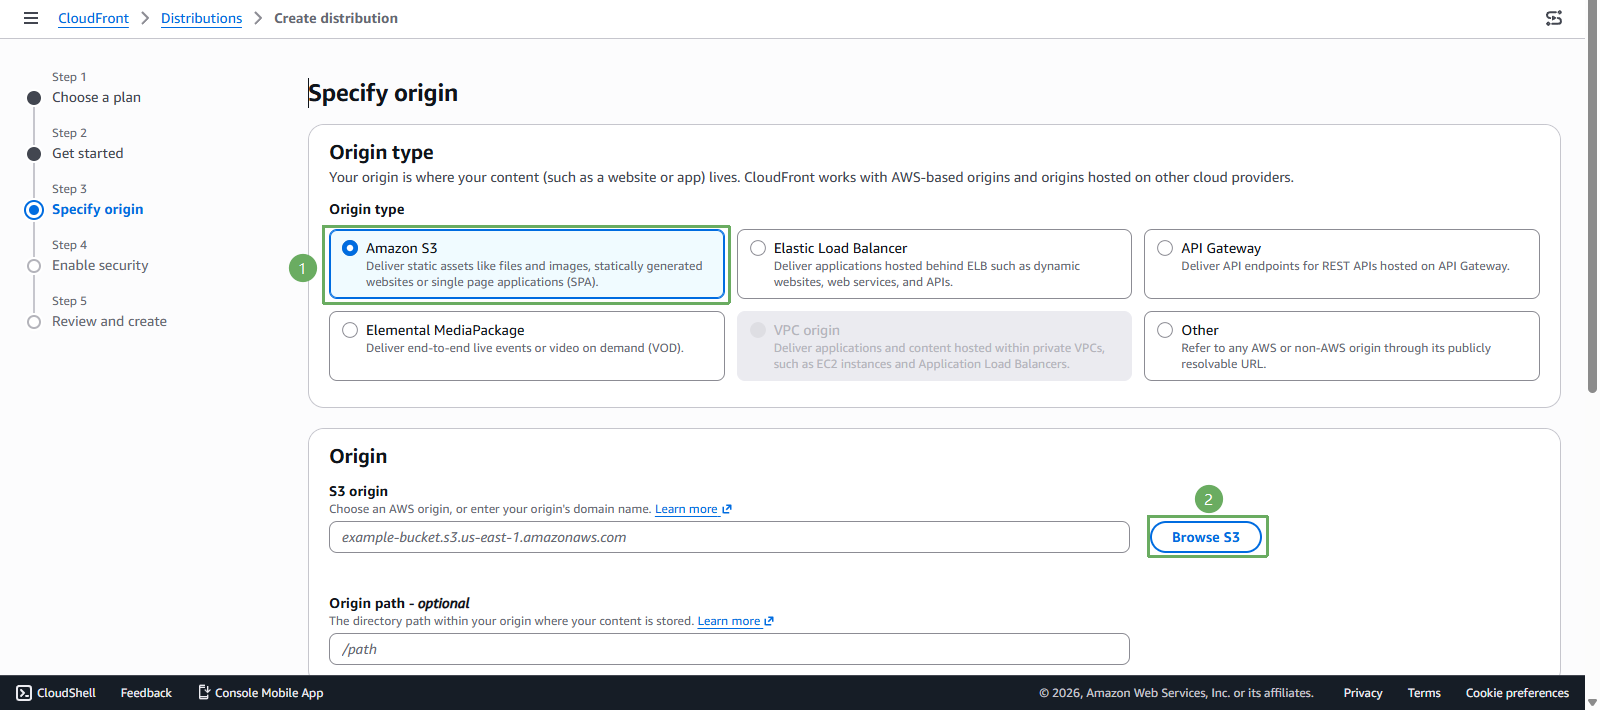
Click Next to continue.
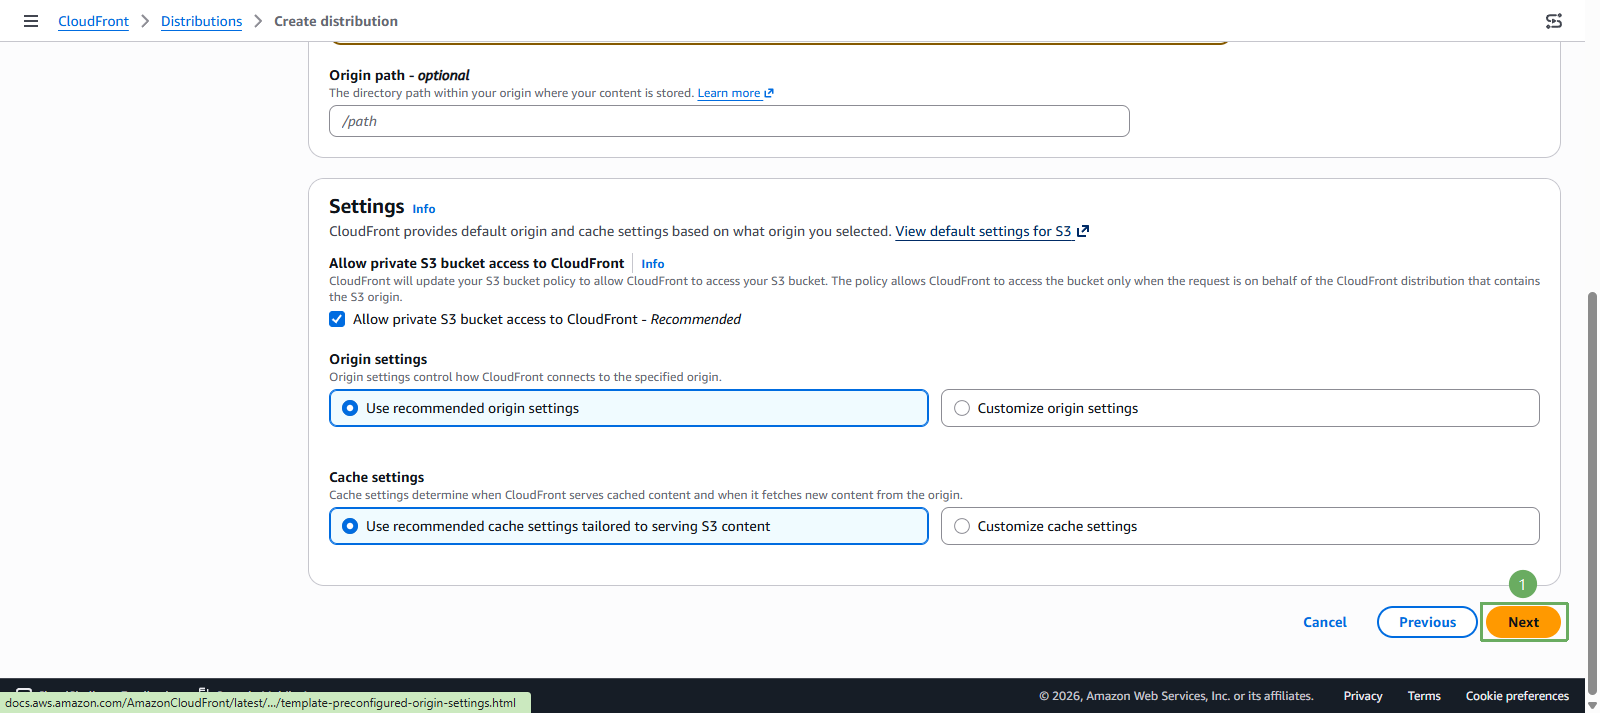
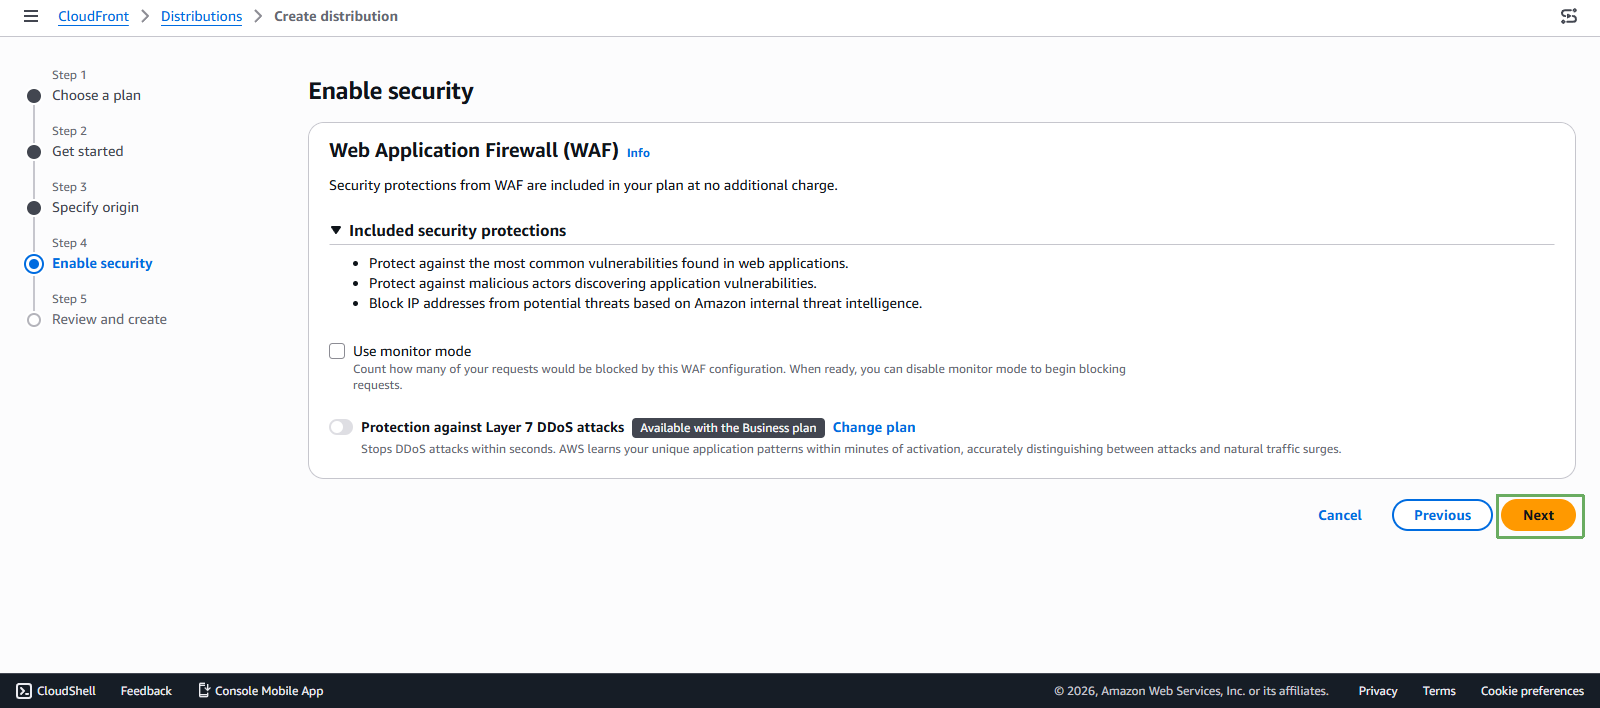
Leave the default settings and click Next.
Review and create:
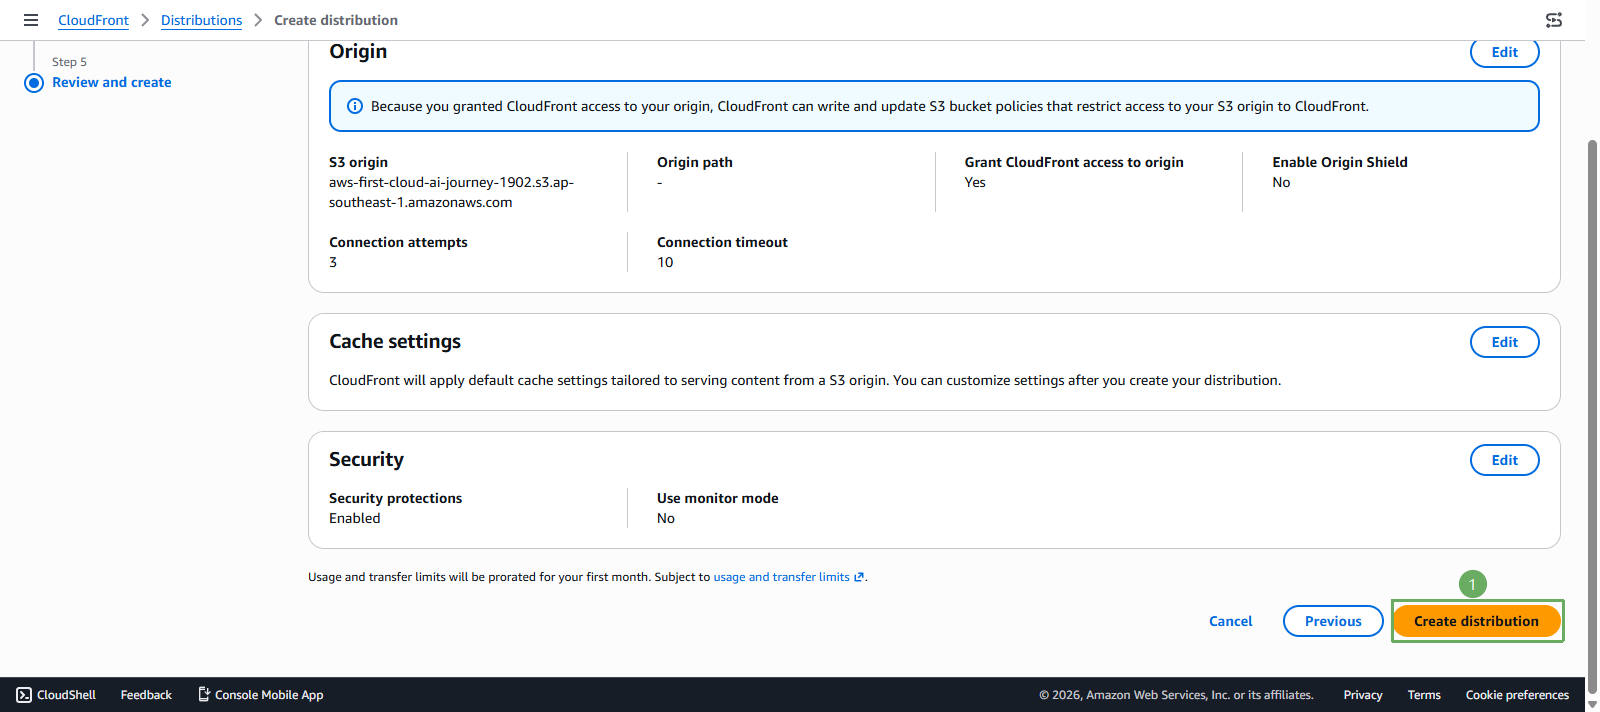
Scroll down near the bottom of the page, review the default values, and select Create distribution.
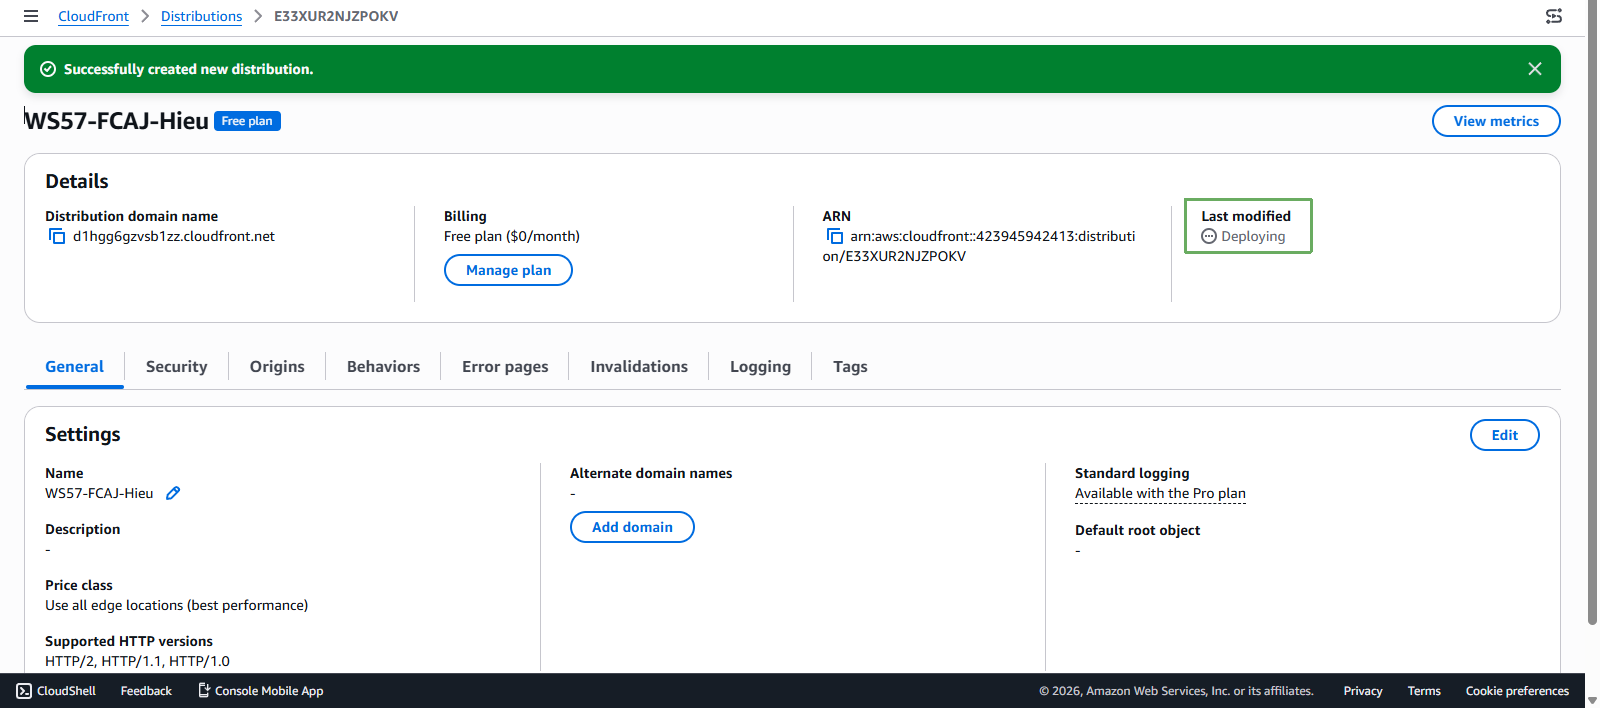
AWS will automatically redirect you to the CloudFront information page with the status as Deploying.
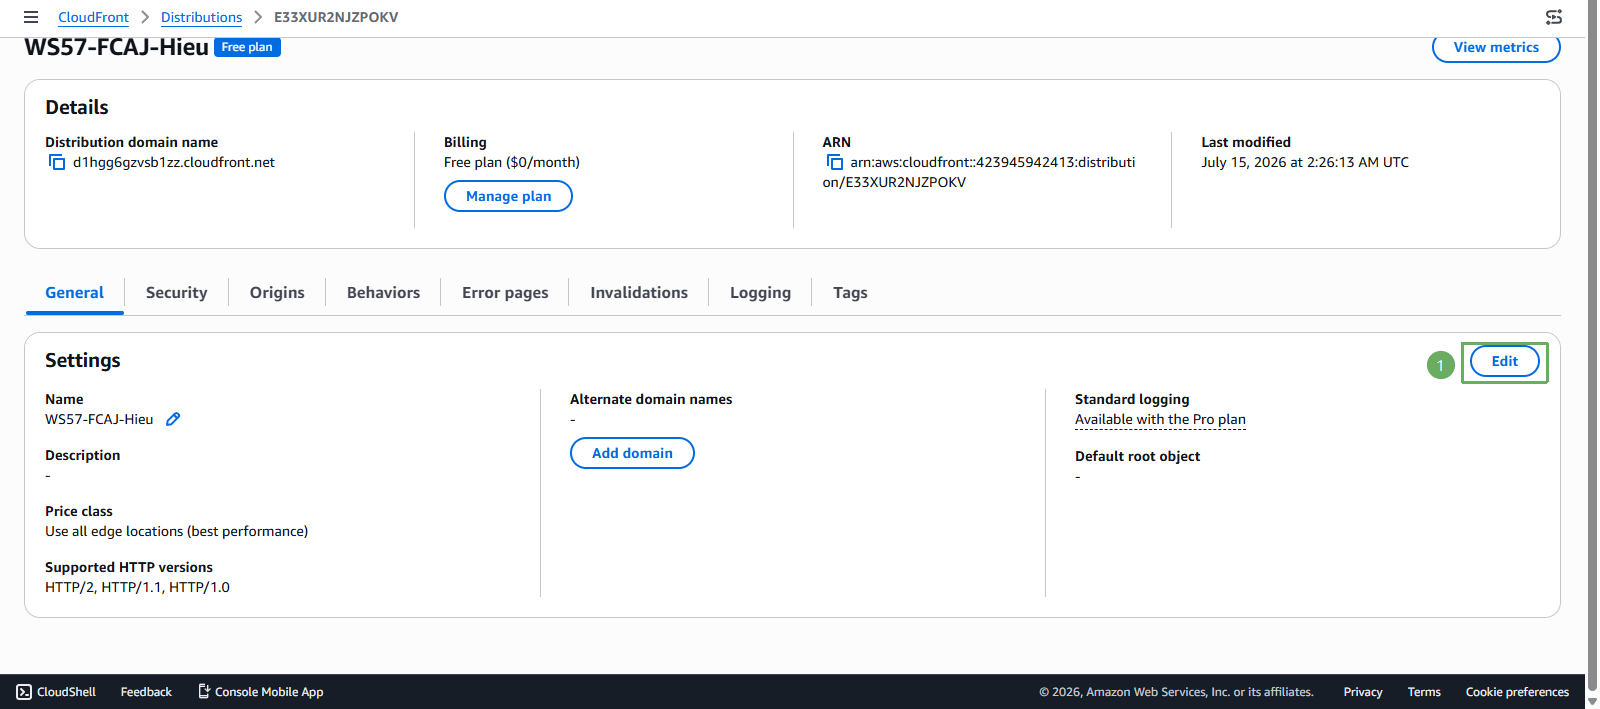
Continue clicking Edit to modify.
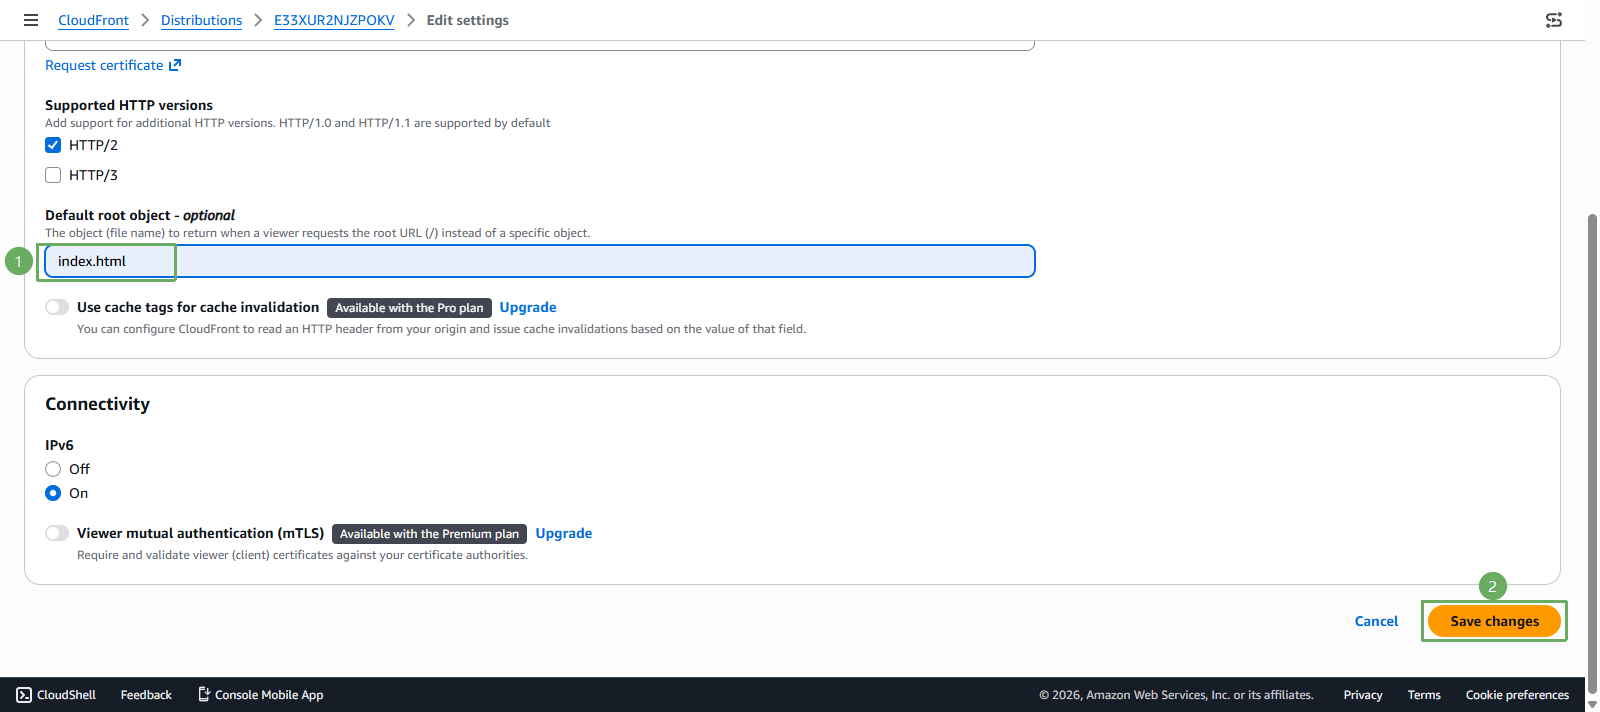
Enter index.html in the Default root object - optional field. Click Save changes:
Note: Please wait for this status for a few minutes - depending on the number of edge locations you chose to deploy. You can open a new tab to return to the S3 bucket to add values to the bucket policy.
In the CloudFront interface, select distributions:
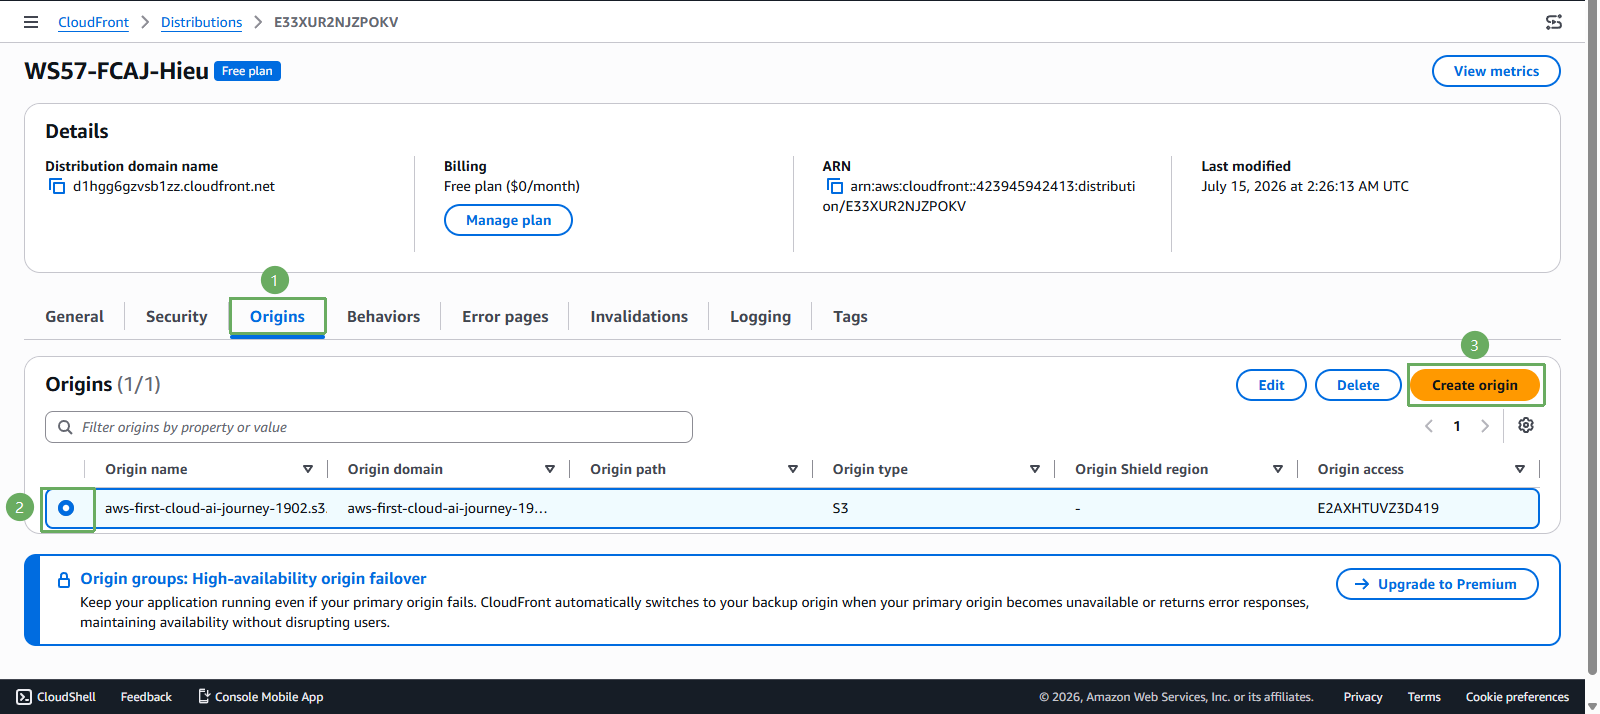
- Select the Origins tab.
- Select the Origin just created.
- Click the Edit button to modify.
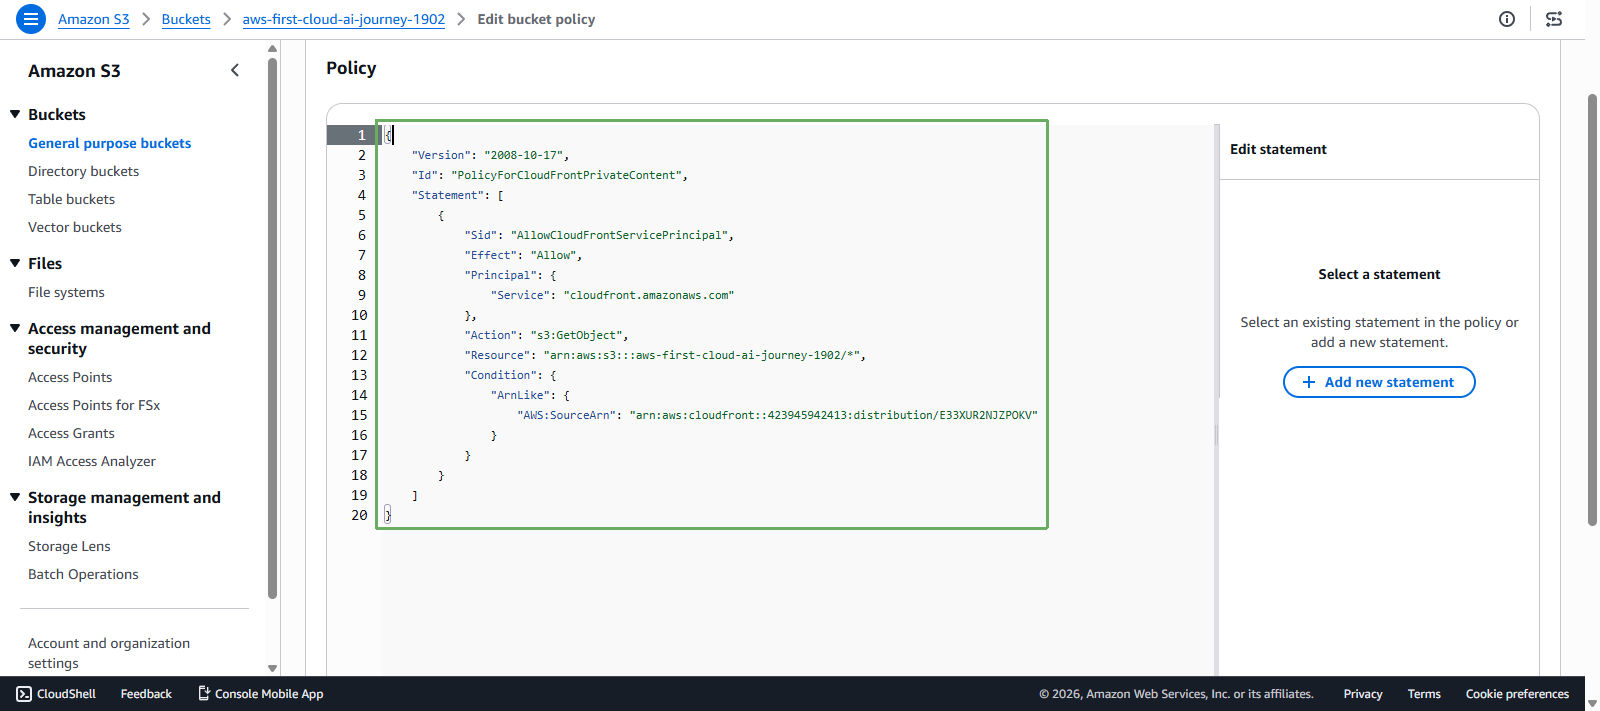
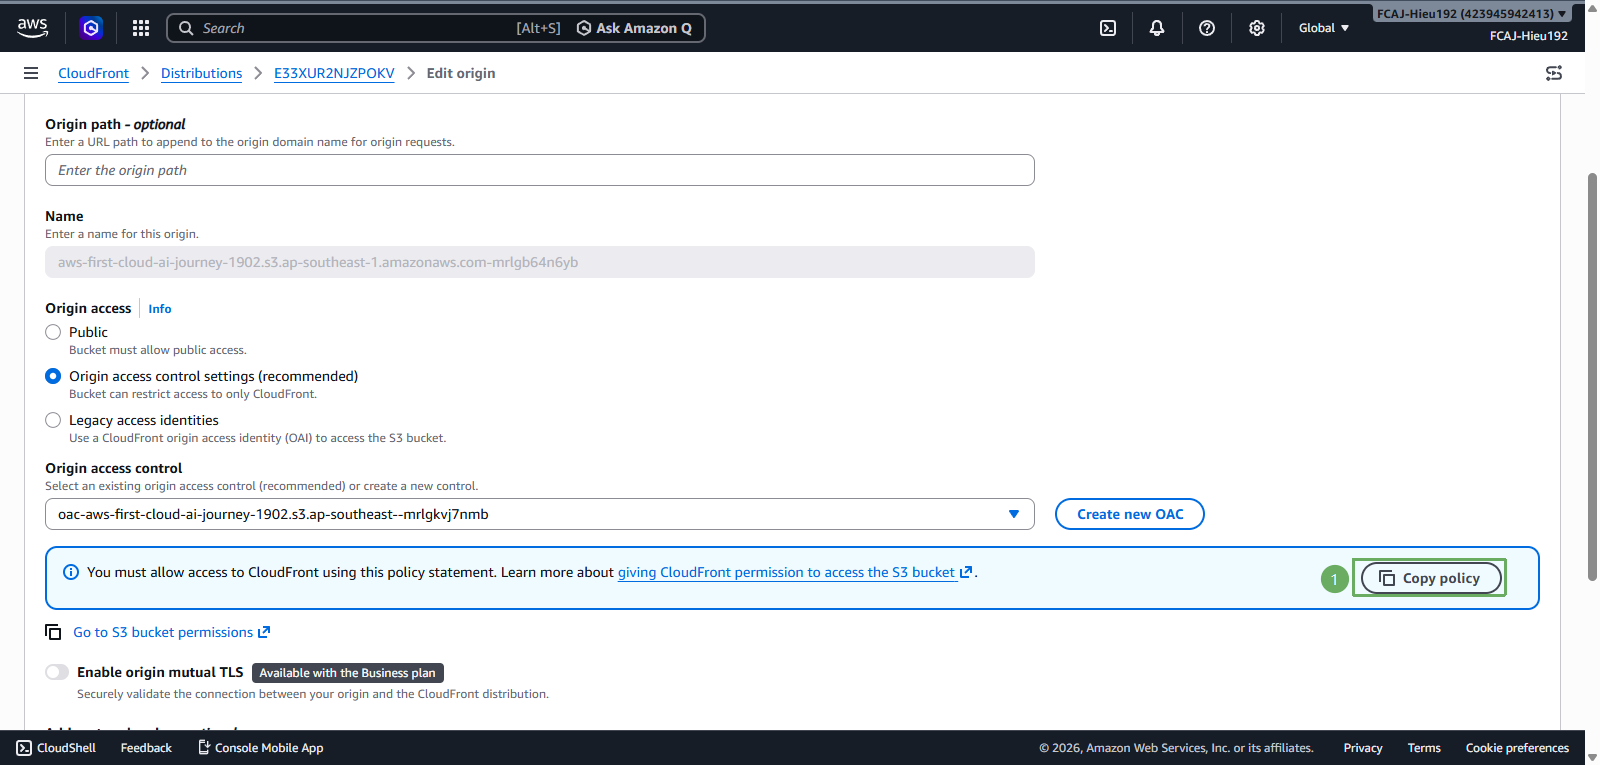
Click Copy policy to copy and open the S3 bucket interface tab.
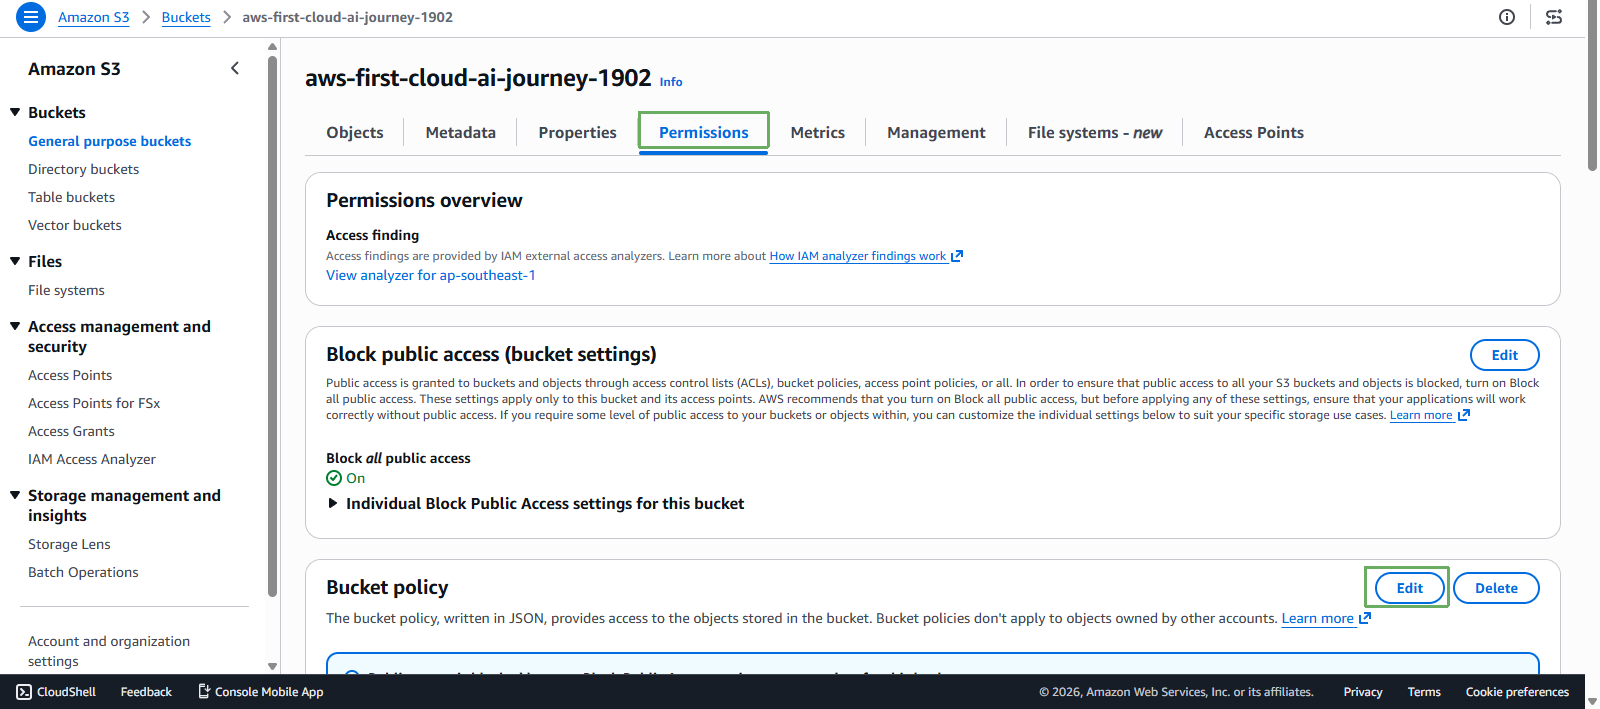
In the S3 bucket interface, select Permissions. Under the Bucket policy section, click Edit.
In the Bucket policy section, paste the copied policy and click Save changes.