Create S3 bucket
Create S3 bucket
What is an S3 Bucket?
An S3 bucket is a container for objects stored in Amazon S3. Think of it as a top-level folder that holds your files. Each bucket has a globally unique name and exists in a specific AWS region. Buckets serve as the fundamental organizational unit in S3 and provide the namespace for object storage.
Step-by-Step Instructions
-
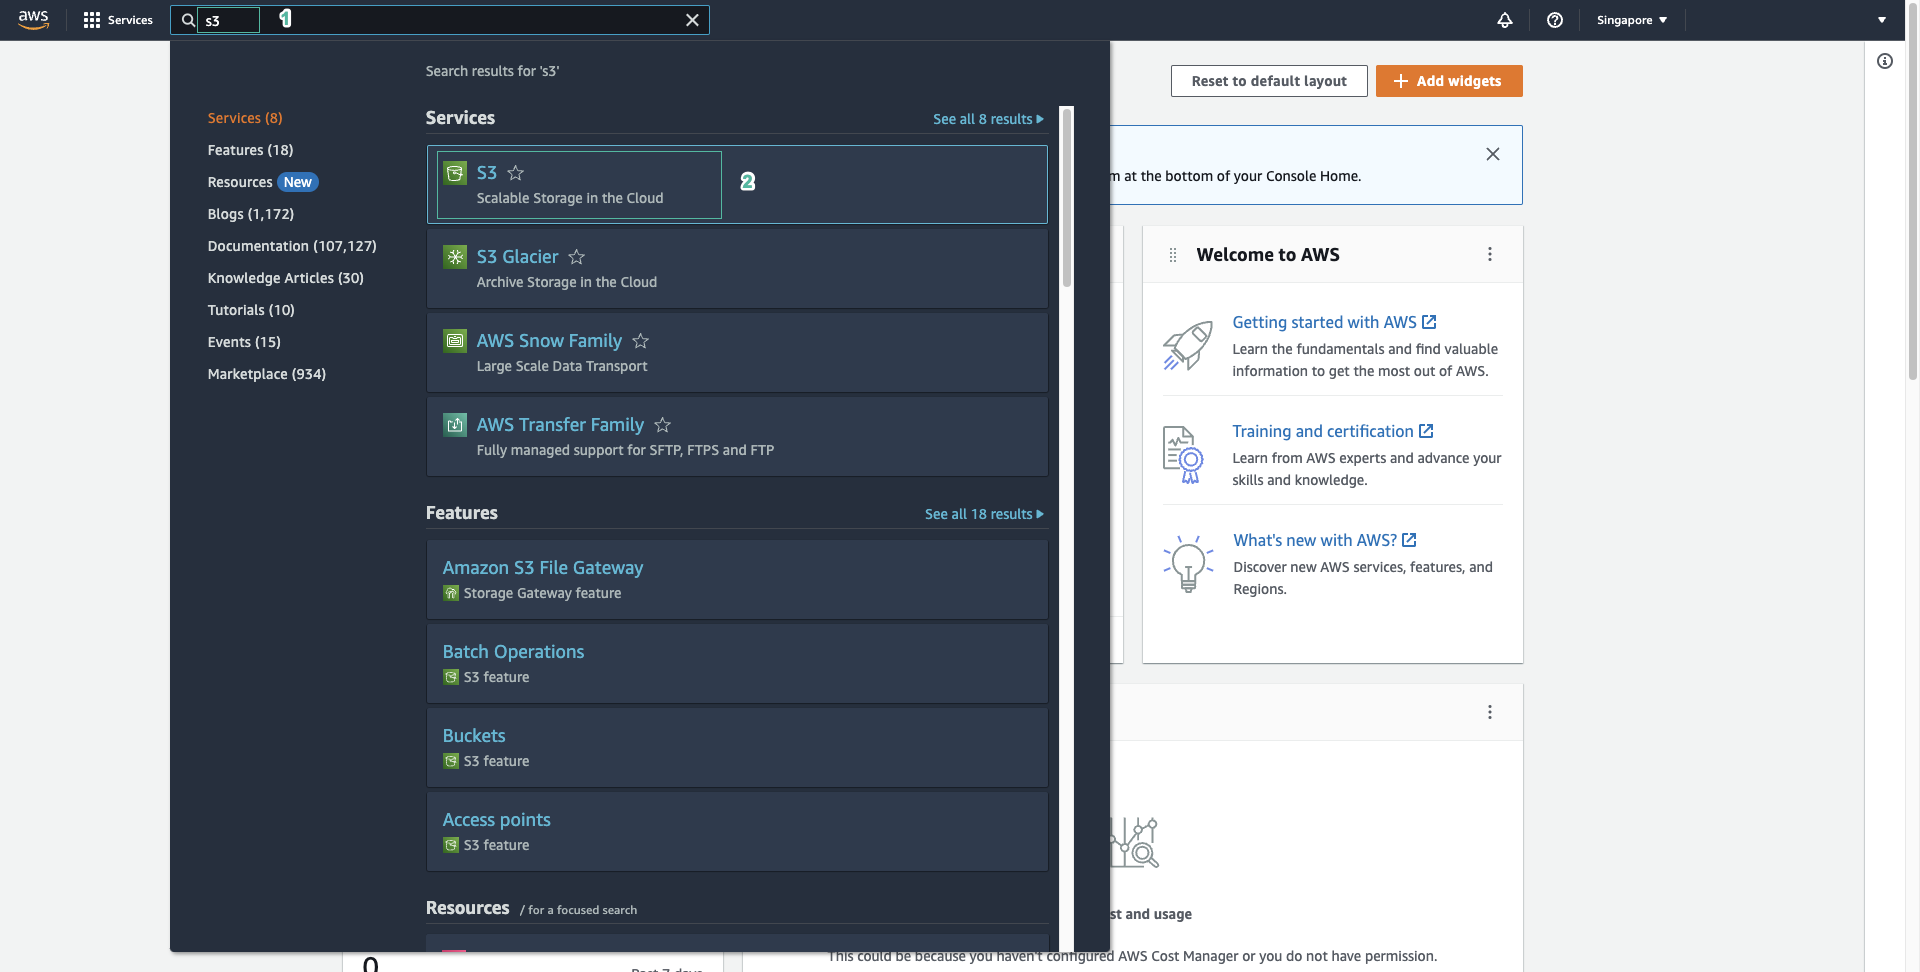
Access the S3 Service
- Access AWS Management Console
- Find S3 using the search bar or navigate to Storage services
- Select S3
Navigation Tip: You can also directly access S3 by typing “S3” in the AWS Console search bar for faster access.
-
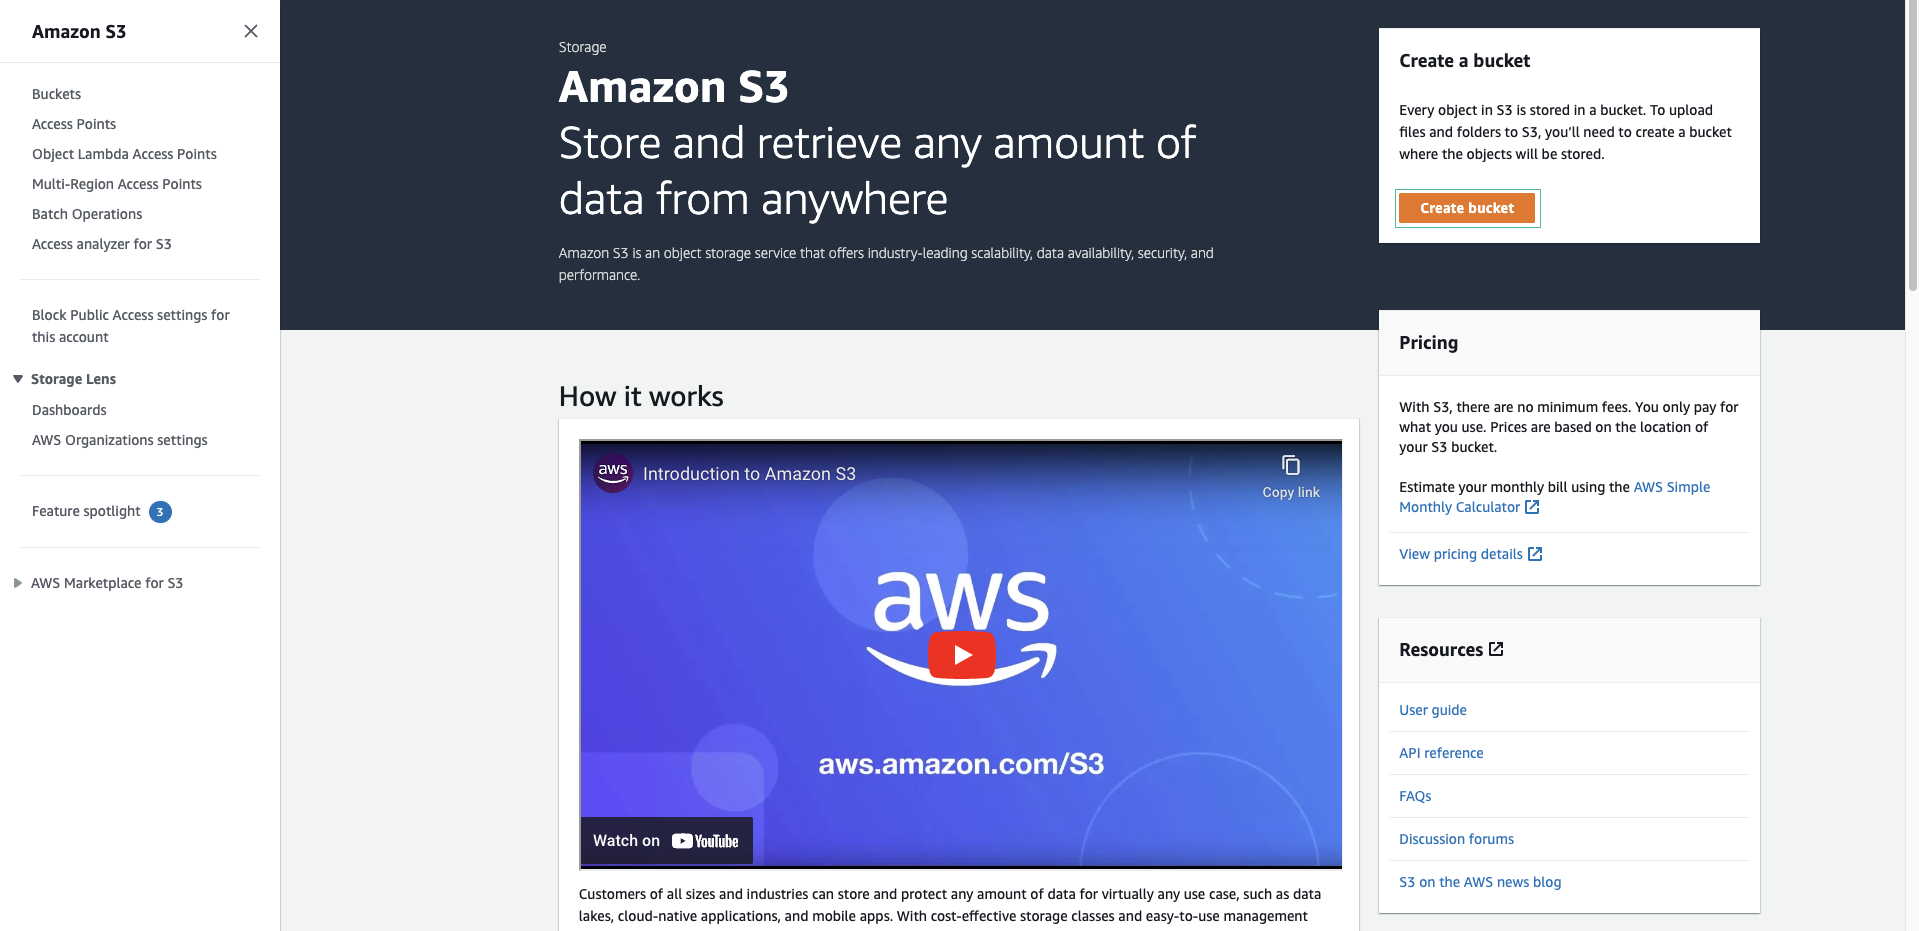
Initiate Bucket Creation
In the S3 interface, select Create bucket
What you’ll see: The S3 dashboard shows existing buckets (if any), storage usage, and recent activity. The “Create bucket” button is prominently displayed.
-
Configure Basic Bucket Settings
In the Create bucket interface:
- Bucket name: Enter
aws-first-cloud-journey(or add numbers if taken) - AWS Region: Select the region closest to your users or as required
- Object Ownership: Select ACLs disabled (recommended)
Important Naming Rules:
- Bucket names must be globally unique across all AWS accounts
- Must be 3-63 characters long
- Can contain only lowercase letters, numbers, and hyphens
- Cannot start or end with a hyphen
- Cannot contain spaces or uppercase letters
- Bucket name: Enter
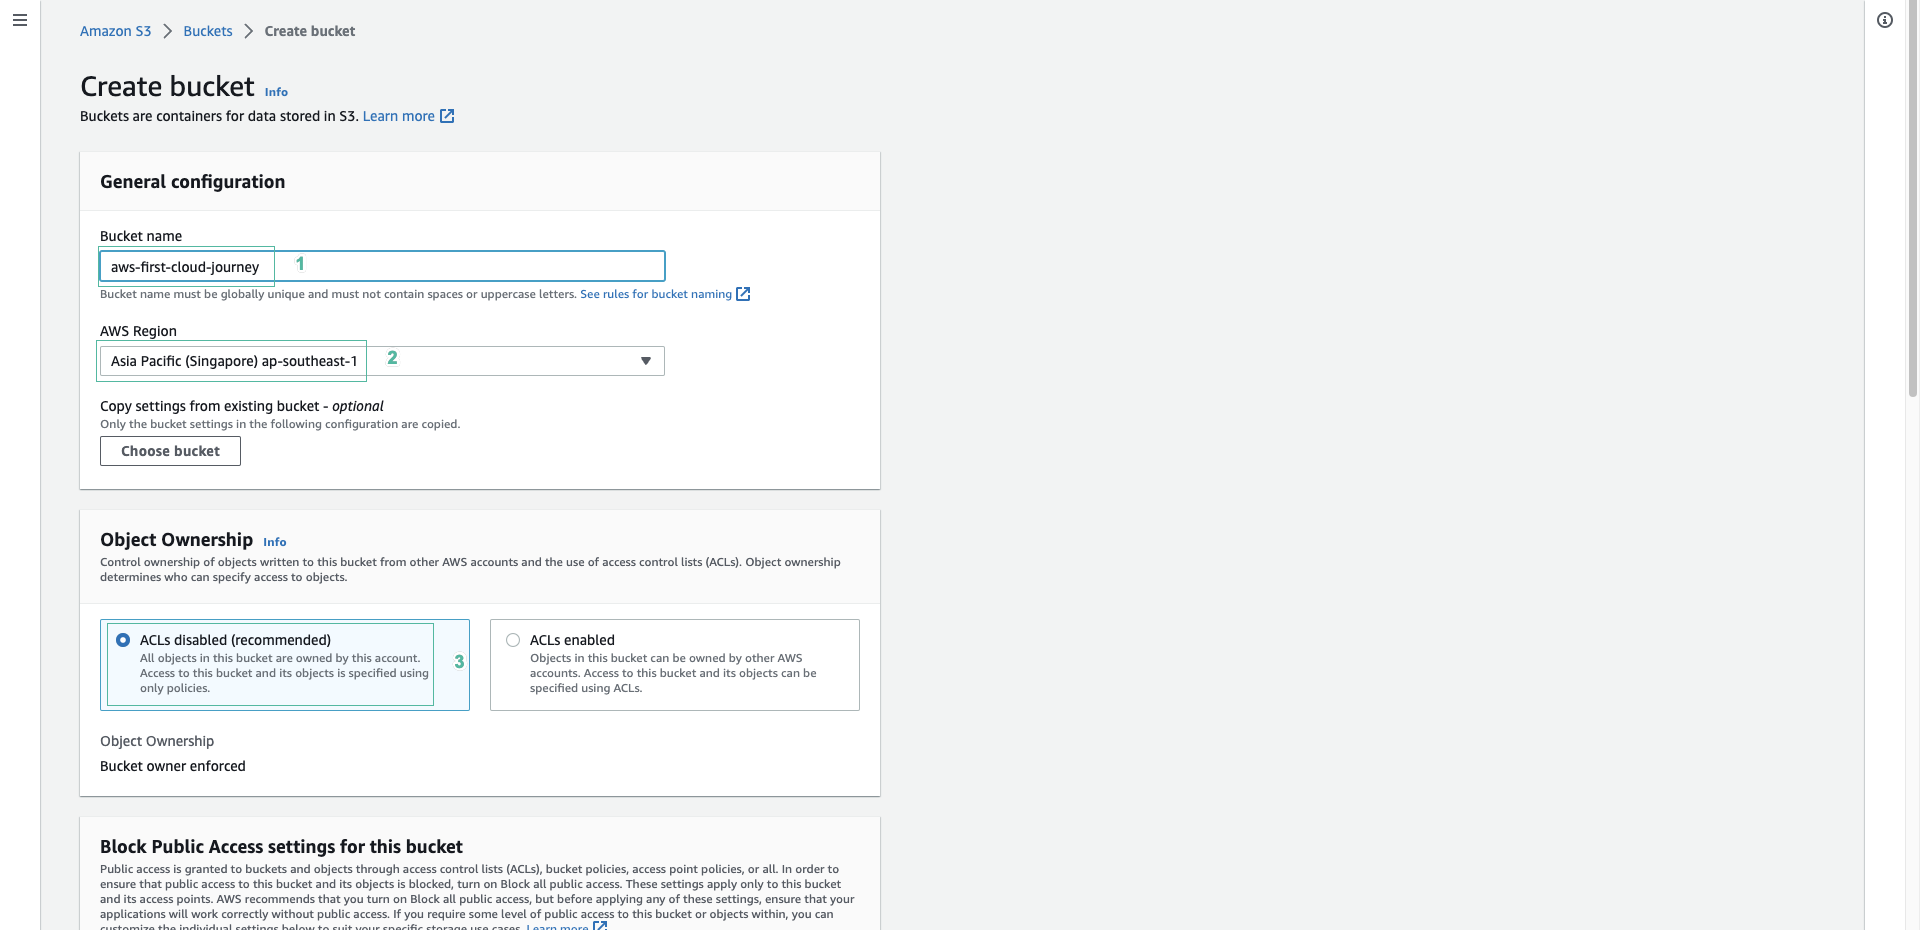
**Understanding Object Ownership:**
- **ACLs disabled (recommended)**: Bucket owner automatically owns all objects. Simpler permission management.
- **ACLs enabled**: Allows object-level permissions. More complex but provides granular control.
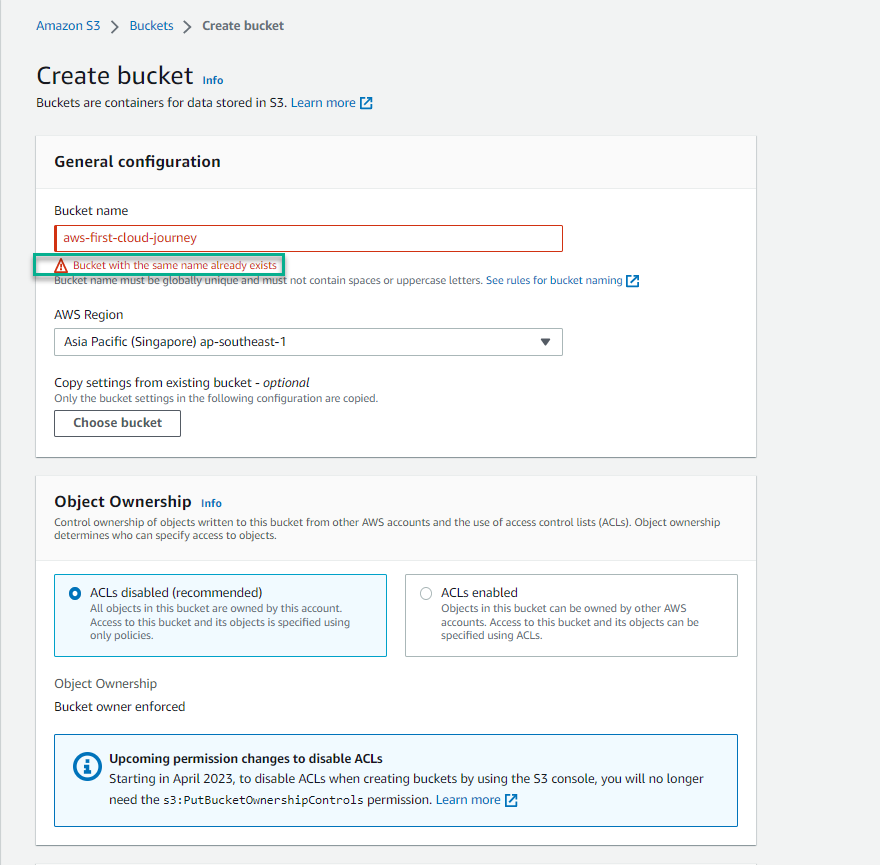
**Note**: If the bucket name **```aws-first-cloud-journey```** is already taken, you'll see: "Bucket with the same name already exists." Add numbers or your initials to make it unique (e.g., **```aws-first-cloud-journey-123```**).
-
Configure Public Access Settings
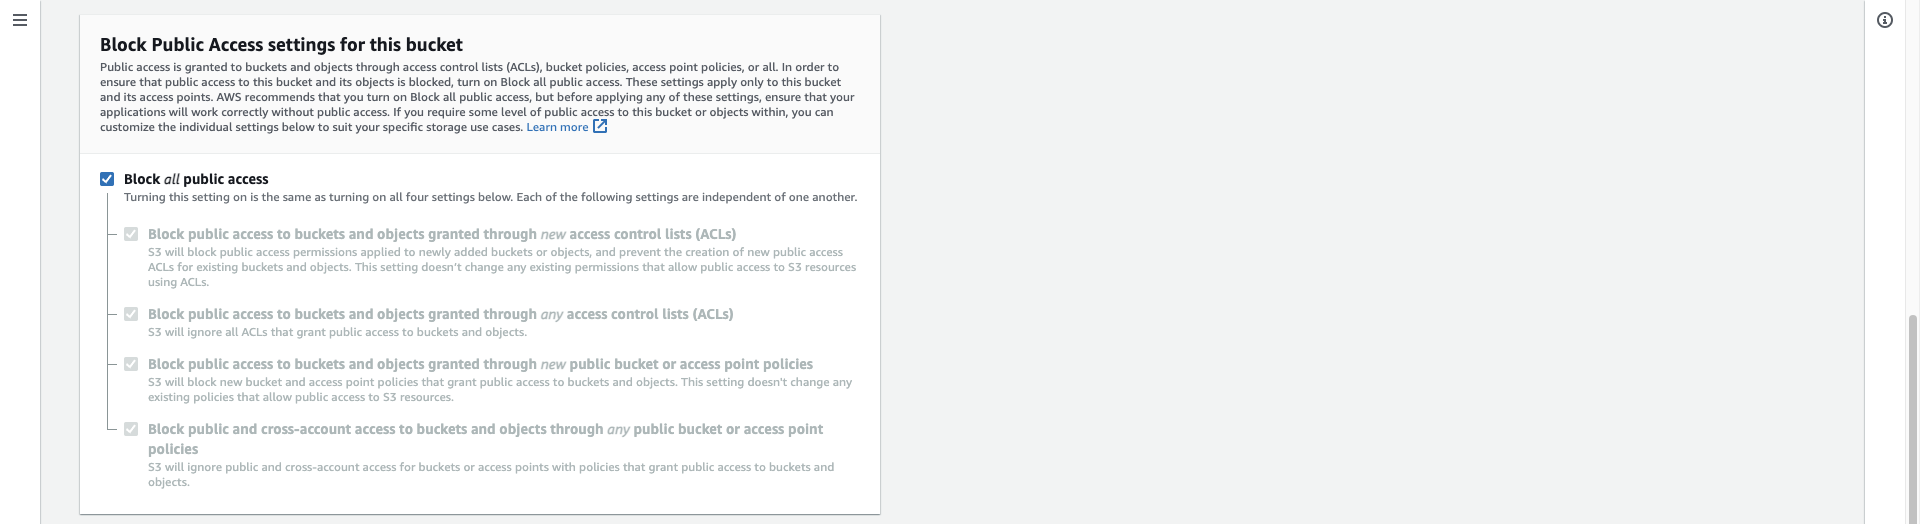
For Block Public Access settings for this bucket, leave the default (all options checked).
Security Best Practice: These settings prevent accidental public exposure of your data. We’ll modify them later in the lab when needed for website hosting, but starting with maximum security is always recommended.
What each setting does:
- Block all public access: Master switch for all public access
- Block public access to buckets and objects granted through new ACLs: Prevents new public ACLs
- Block public access to buckets and objects granted through any ACLs: Blocks all ACL-based public access
- Block public access to buckets and objects granted through new public bucket or access point policies: Prevents new public bucket policies
- Block public access to buckets and objects granted through any public bucket or access point policies: Blocks all policy-based public access
-
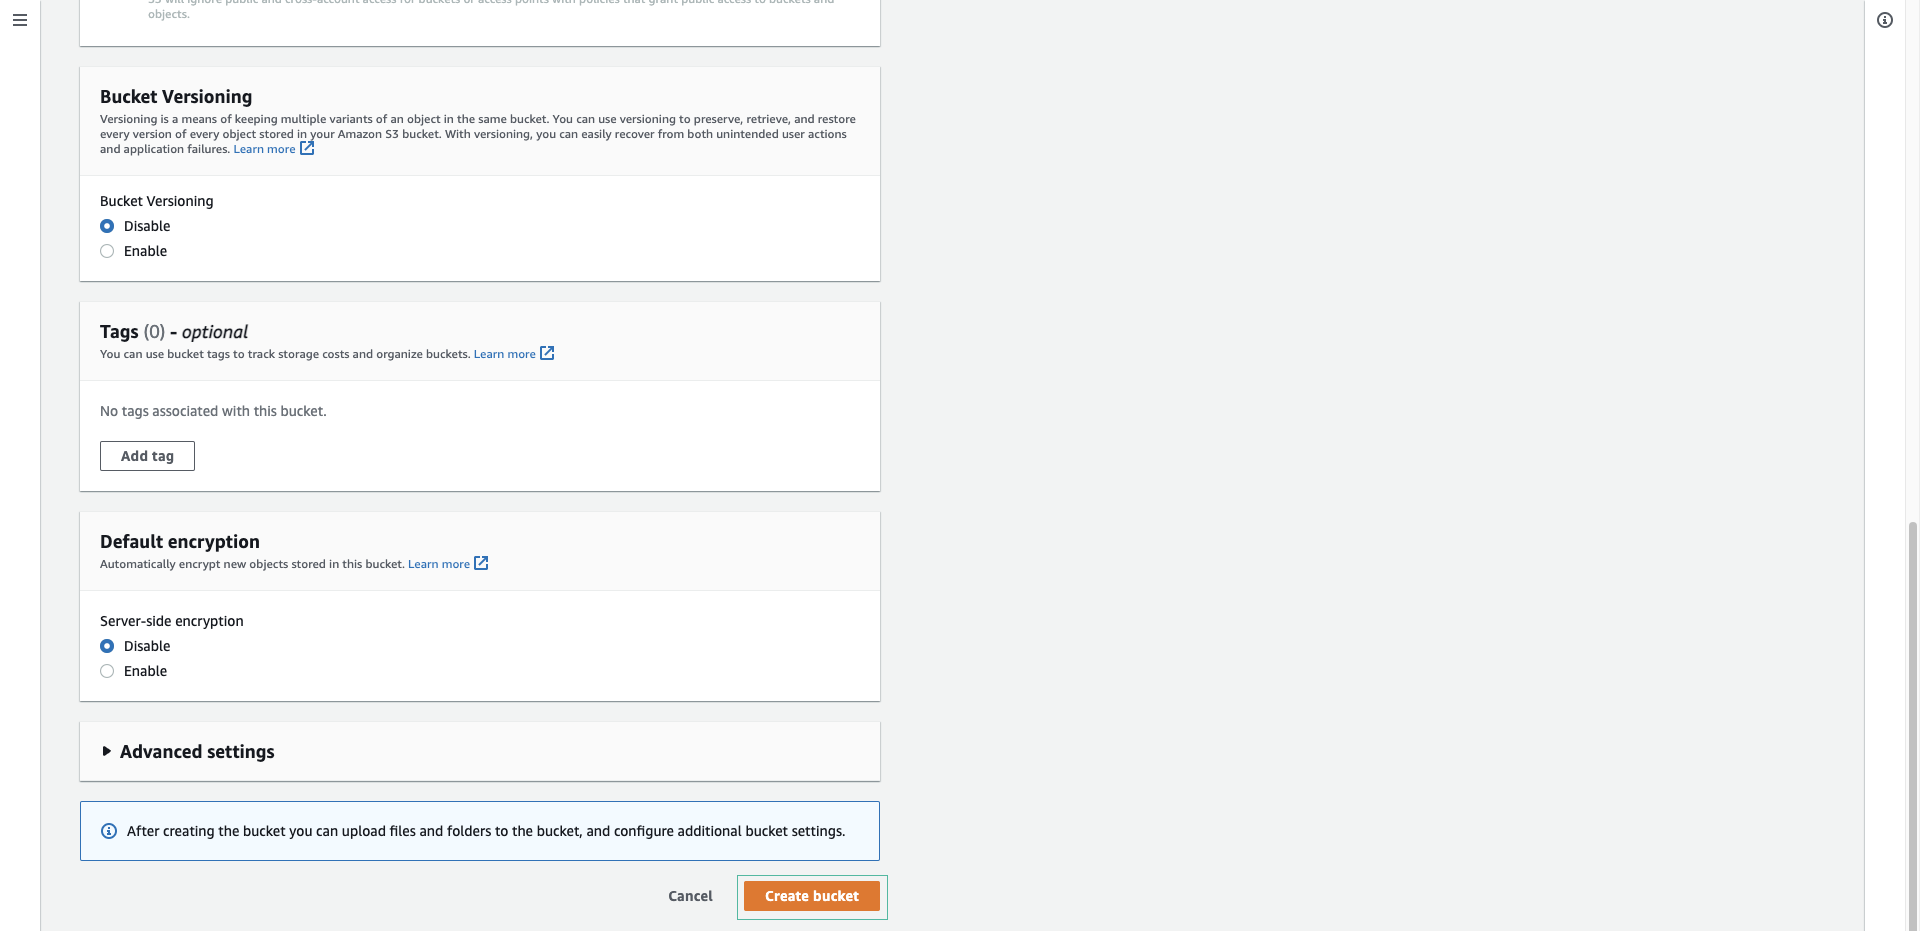
Additional Configuration Options
Bucket Versioning: Keep disabled for now (we’ll enable this later in the lab) Tags: Optional - you can add tags for cost tracking and organization Default Encryption: AWS automatically encrypts objects with SSE-S3 Advanced Settings: Leave as default
Review your settings and select Create bucket
-
Verify Bucket Creation
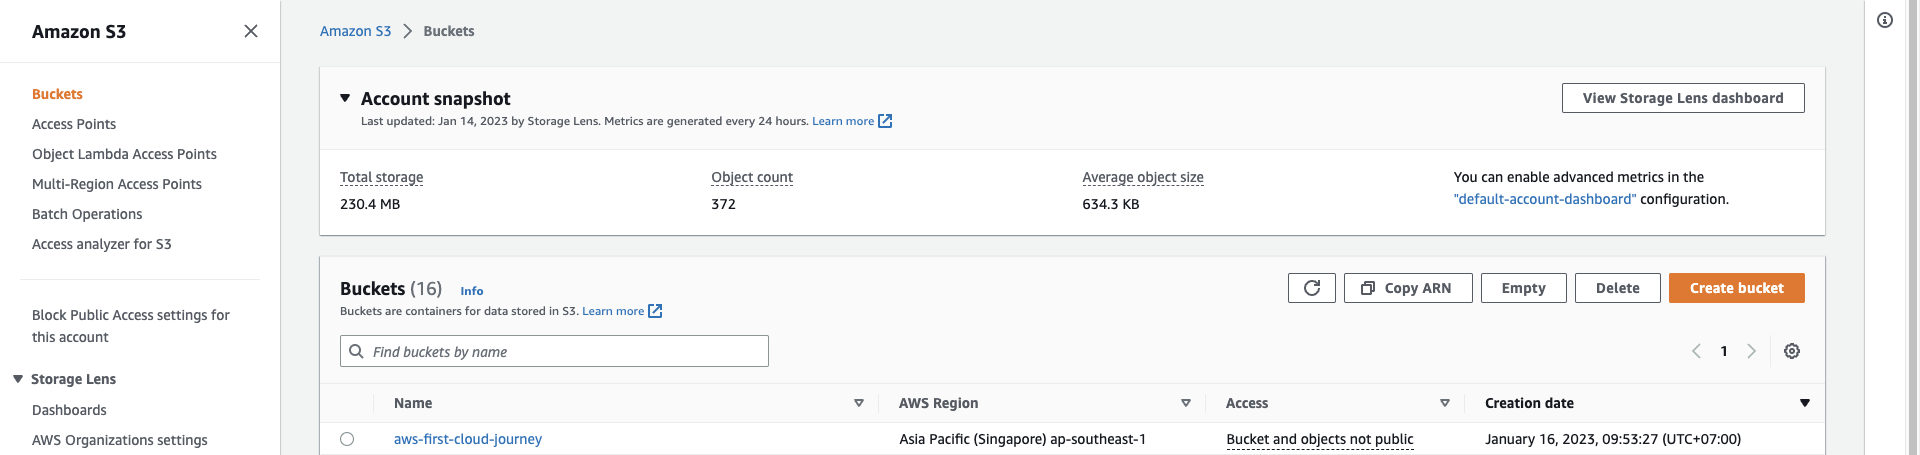
Success! You have created your S3 bucket to store website source code.
What happens next: Your bucket is now ready to receive objects. You can see it listed in your S3 console with the region you selected and current status.
Key Information Displayed:
- Bucket name and creation date
- AWS region where the bucket resides
- Access status (currently private)
- Storage usage (currently 0 objects, 0 bytes)
What You’ve Accomplished
- ✅ Created a globally unique S3 bucket
- ✅ Configured secure default settings
- ✅ Selected appropriate region for your use case
- ✅ Set up the foundation for static website hosting
Next Steps
In the next section, we’ll upload website files to this bucket and configure it for static website hosting.