Config Amazon CloudFront
Use the AWS management console, to create a CloudFront distribution and configure this service to serve the S3 Bucket we created earlier.
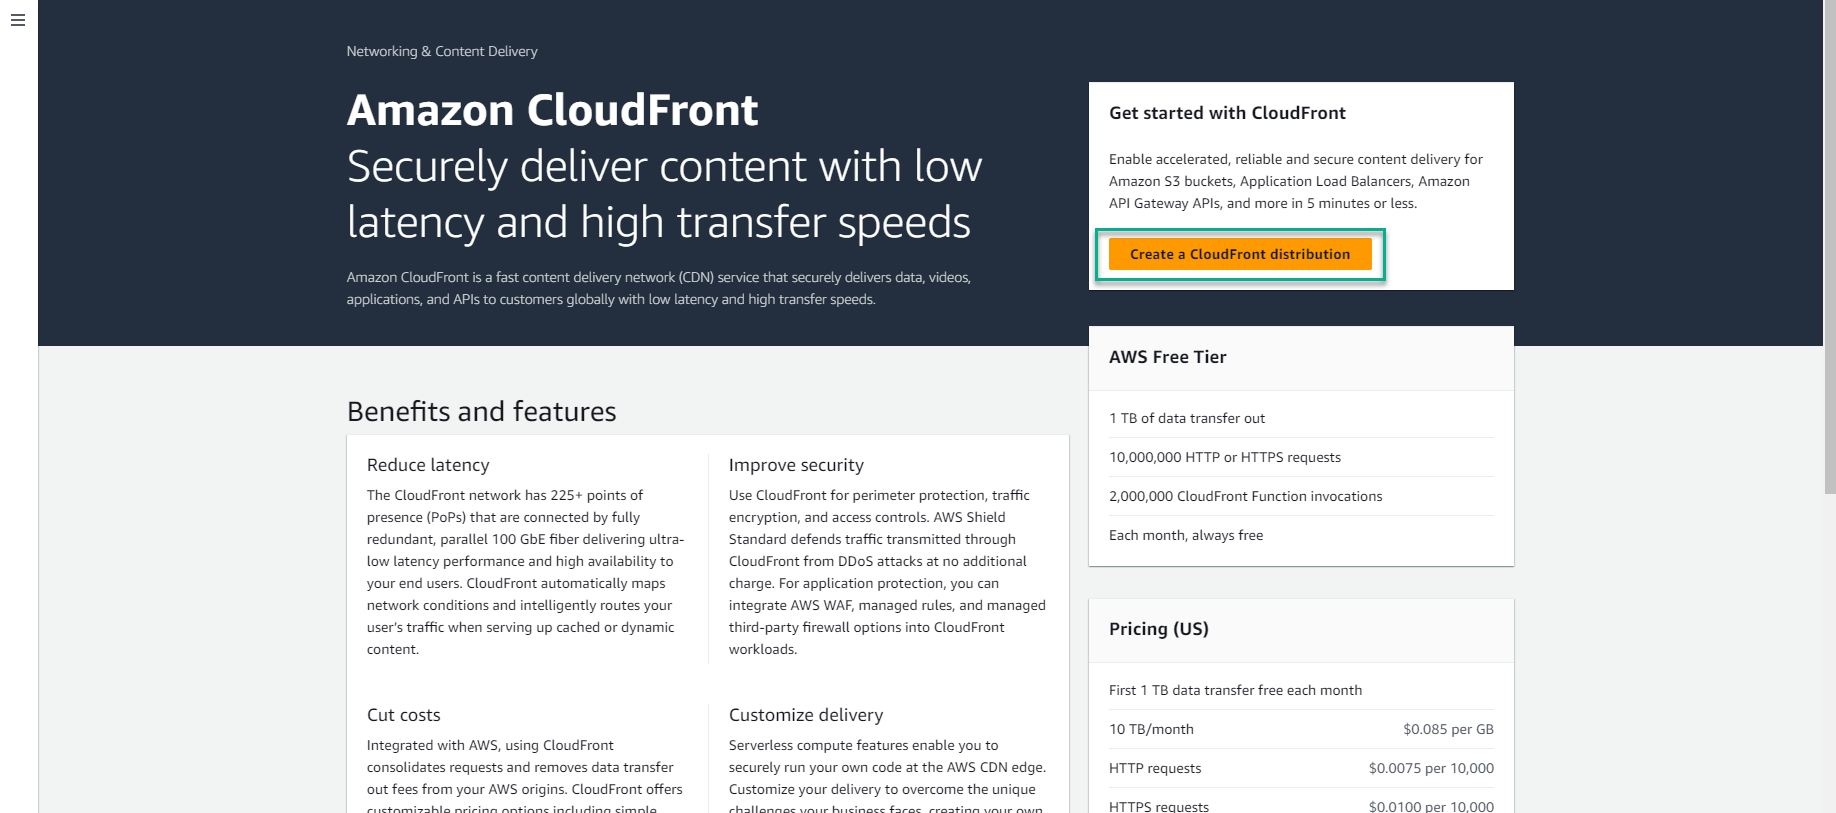
- Open the Amazon CloudFront console at https://console.aws.amazon.com/cloudfront/home
- From the dashboard, click Create a CloudFront distribution.
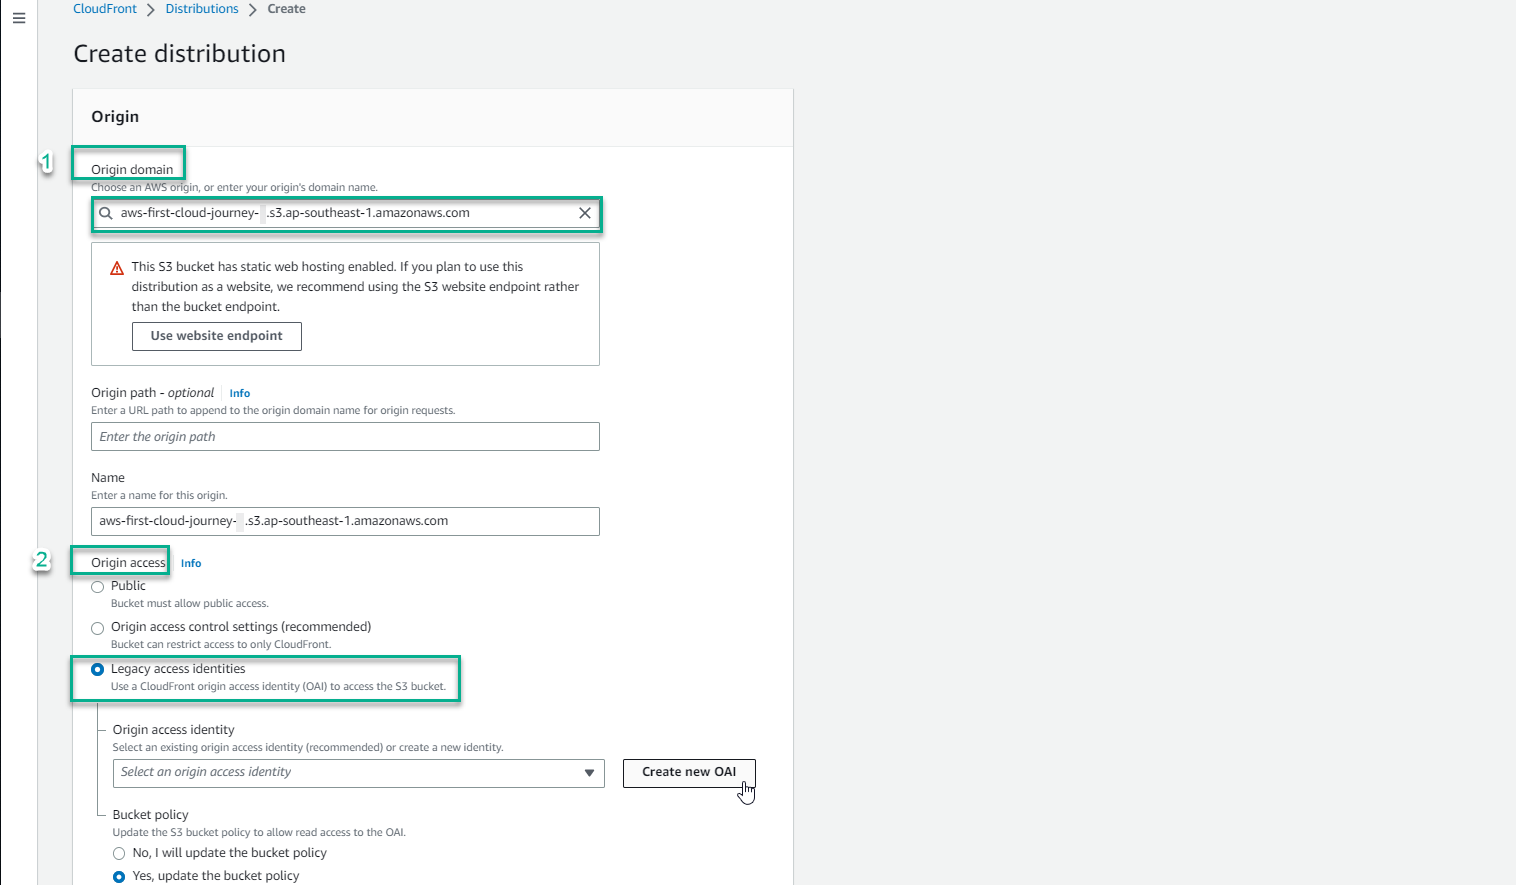
- Specify the following settings for the distribution:
-
In the Origin domain field, select the S3 bucket you created earlier.
-
In the Origin access field, select Legacy access identities
-
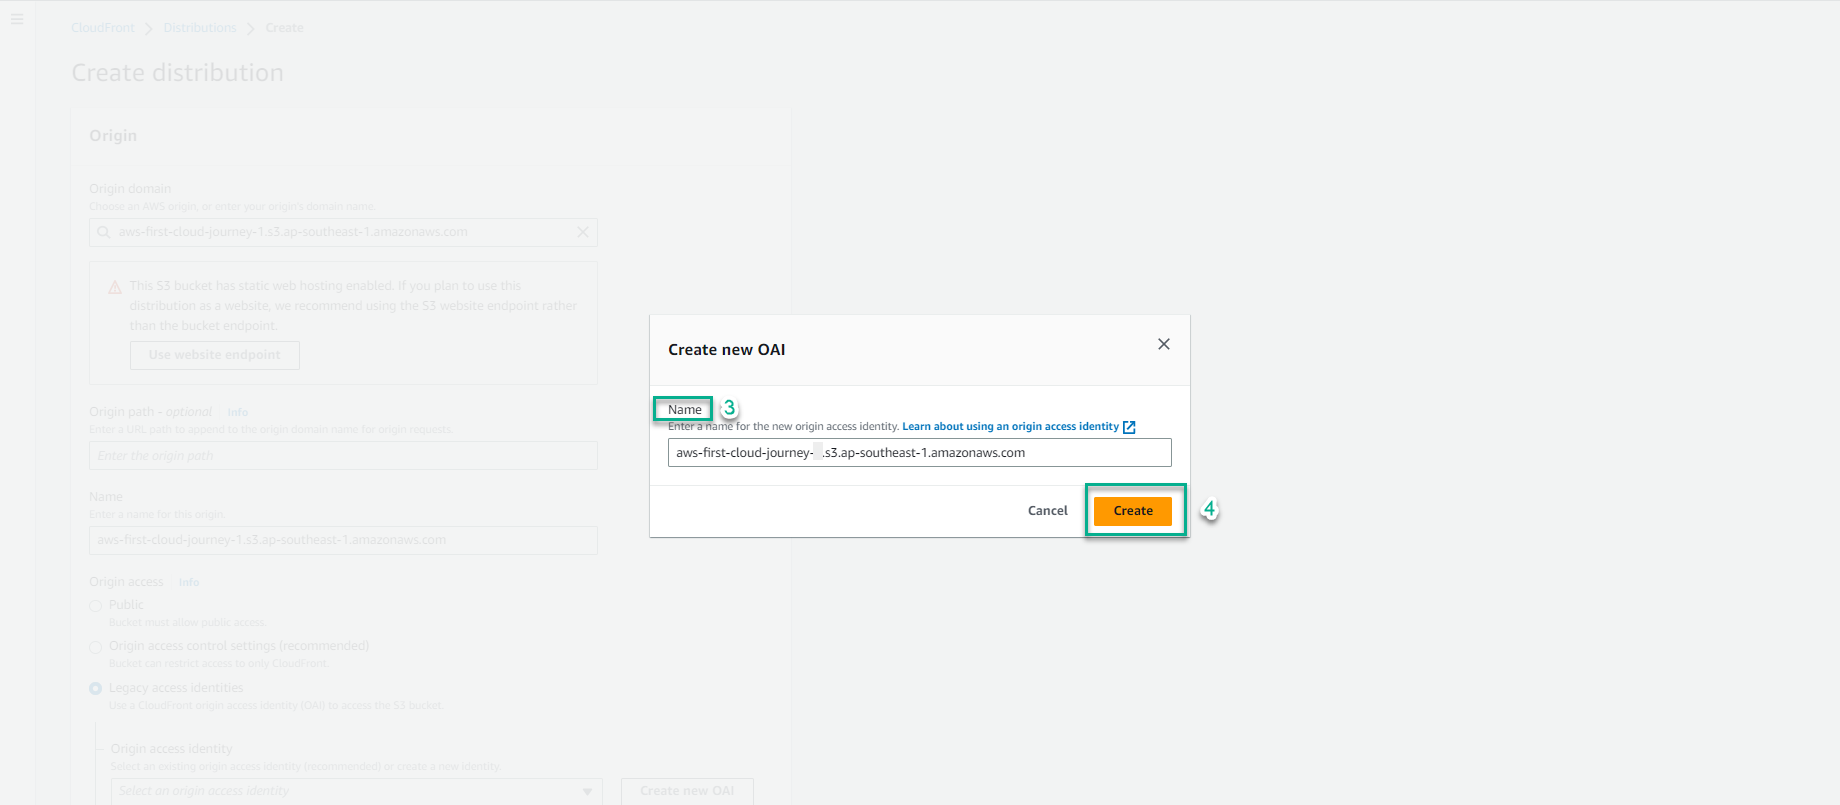
Select Create new OAI -> keep the value name & select Create with OAI as Origin access identity
- In the Bucket policy field, select Yes, update the bucket policy to let AWS auto update the permission to let CloudFront access into the S3 bucket

- Scroll down near the bottom of the page:
-
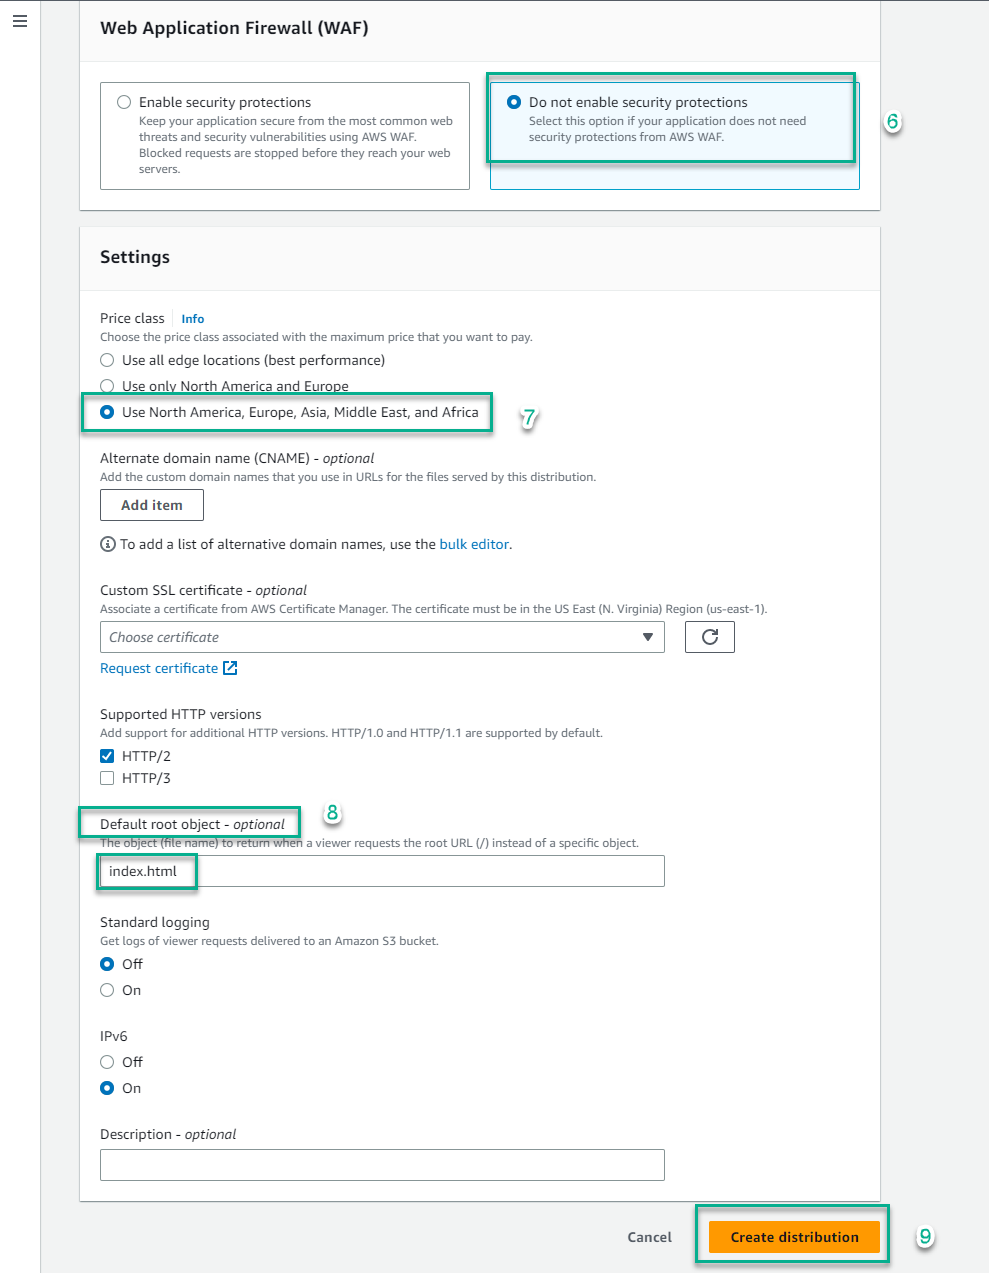
In the Web Application Firewall (WAF) section & in this lab, select Do not enable security protections
-
In the Settings section,
- We will choose Use North America, Europe, Asia, Middle East, and Africa!
- In the Default root object - optional section, enter
index.htmlwhich is the object you uploaded in step 2.2 (Loading data)
-
Keep the default values, select Create distribution
-
Note: In case, your actual customer is globally, you should select Use all edge locations (best performance) to deliver at 450+ Points of Presence(PoP),400+ Edge Locations.
- Information CloudFront
- After completing item 3 above, AWS will automatically redirect you to CloudFront information page as shown below, with status as Deploying
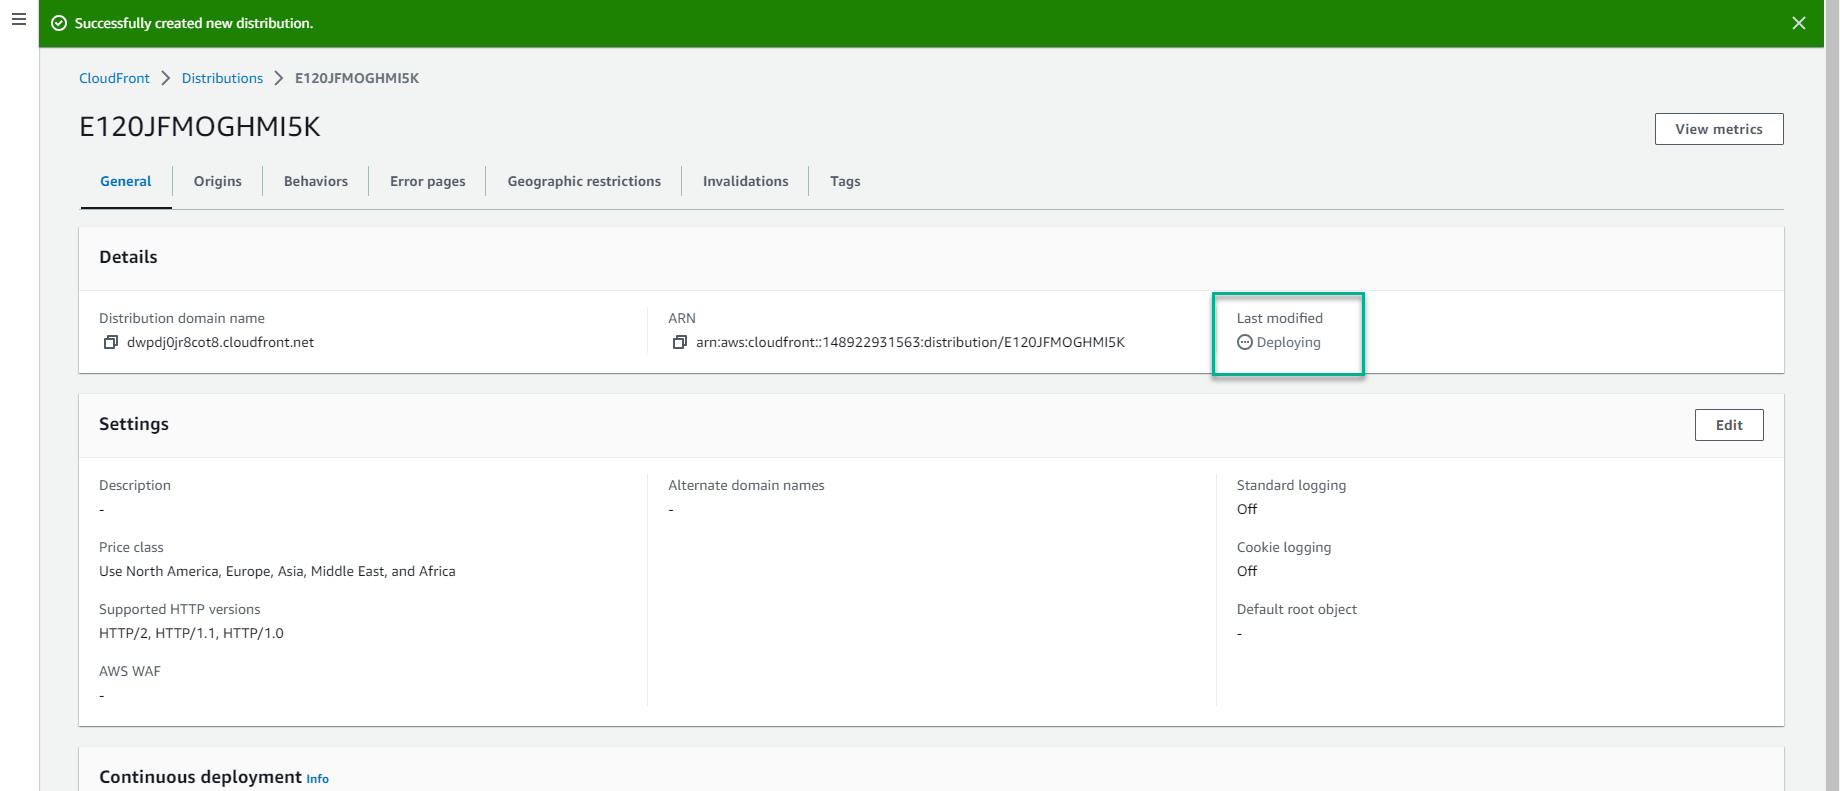
Note: please wait for this status for a few minutes - depending on the number of edge locations you chose to deploy in item 3. In the meantime, you can open another tab to return to the S3 bucket & see what values cloudfront has added to the bucket policy.
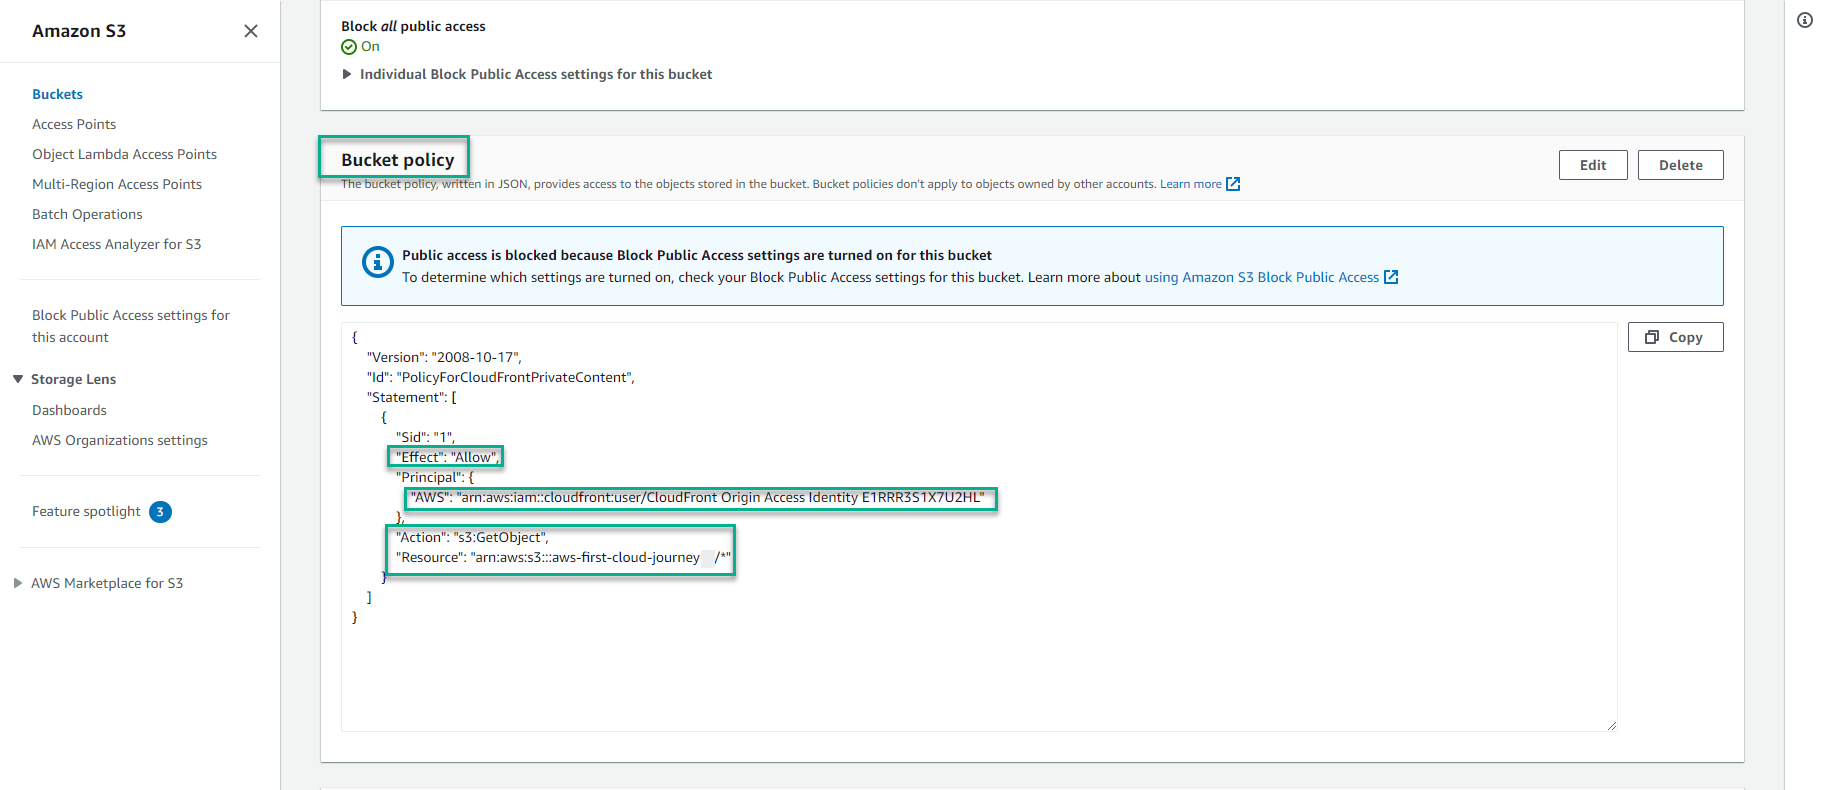
- In the S3 bucket interface, select Permissions

- In the Bucket policy section, you review the important content